Get ready to cast a spell of deliciousness with these adorable and easy-to-make Witch Hat Cookies! Perfect for Halloween parties, spooky gatherings, or simply a fun baking project with the kids, these cookies are a delightful combination of chocolatey goodness and whimsical charm. This recipe guides you through creating perfectly shaped witch hats using simple ingredients and easy-to-follow steps. From preparing the chocolate base and attaching the Hershey’s Kiss “hat point”, to decorating with colorful sprinkles and icing, you’ll have a batch of enchanting treats in no time. Learn how to troubleshoot common issues, find creative decorating ideas, and discover the secrets to making these cookies a bewitching success. We’ll also cover storage tips to keep your witch hats fresh and tasty, ensuring they’re ready to delight ghouls and goblins whenever the mood strikes. Let’s dive into the magic and whip up some irresistible Witch Hat Cookies!
Ingredients: A Spellbinding List
Before you begin your baking adventure, gather these essential ingredients. Each plays a crucial role in creating the perfect Witch Hat Cookies:
- Chocolate Cookies: One package of fudge striped cookies (Keebler or similar). These serve as the base of your witch hats.
- Chocolate Kisses: One bag of Hershey’s Kisses (milk chocolate or dark chocolate). These are the pointed tops of the witch hats.
- Melting Chocolate or Candy Melts: For adhering the Kisses to the cookies and decorating. You can use dark chocolate, milk chocolate, or colorful candy melts.
- Sprinkles: Various Halloween-themed sprinkles for decoration.

Step-by-Step Instructions: Conjuring the Cookies
Follow these detailed instructions to create your own batch of magical Witch Hat Cookies:
Preparation is Key
Start by preparing your workspace. Line a baking sheet with parchment paper or a silicone mat. This will prevent the cookies from sticking and make cleanup easier. Unwrap all the Hershey’s Kisses and set them aside.
Melting the Chocolate
There are two main methods for melting chocolate:
Microwave Method:
- Place the melting chocolate or candy melts in a microwave-safe bowl.
- Microwave in 30-second intervals, stirring in between, until completely melted and smooth. Be careful not to overheat, as chocolate can burn easily.
Double Boiler Method:
- Fill a saucepan with about an inch of water and bring it to a simmer.
- Place a heat-safe bowl on top of the saucepan, ensuring the bottom of the bowl doesn’t touch the water.
- Add the melting chocolate or candy melts to the bowl and stir occasionally until melted and smooth.
Assembling the Witch Hats
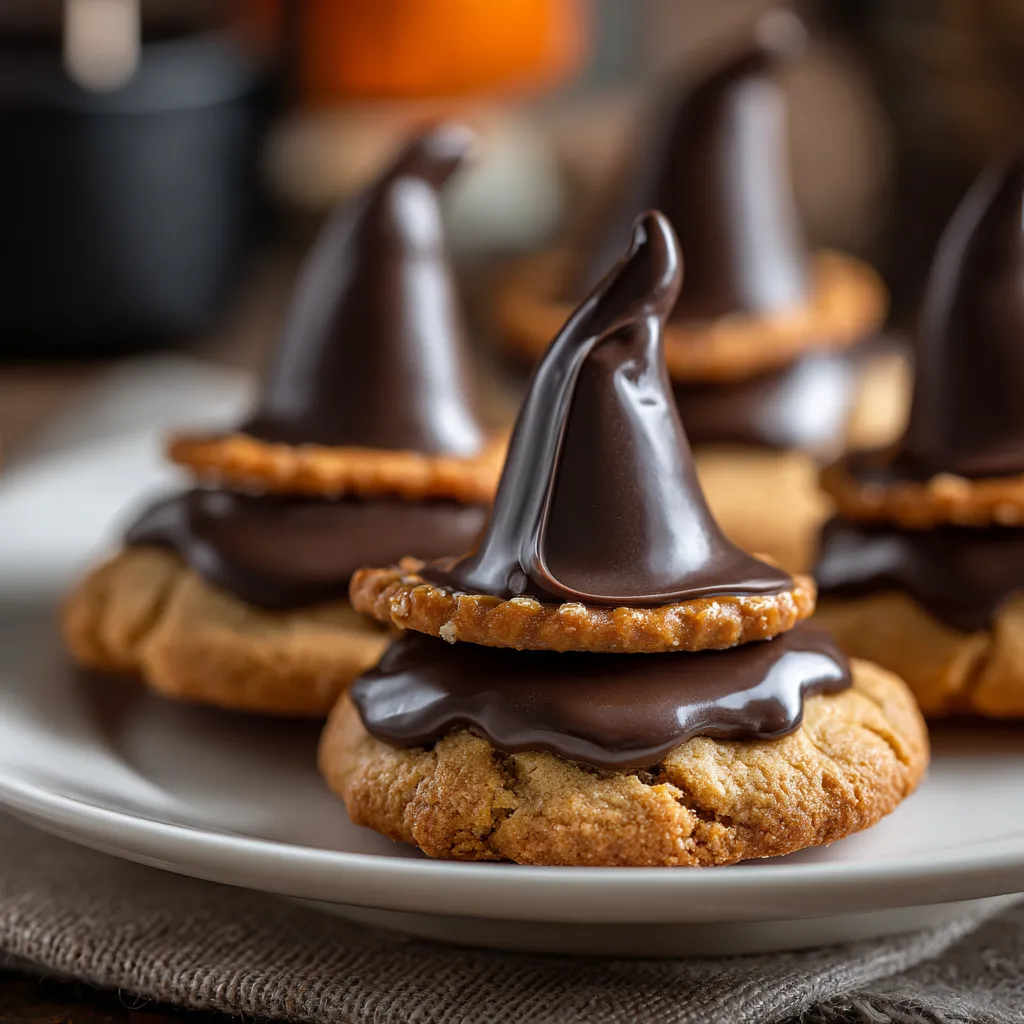
Now comes the fun part – assembling the cookies!
- Dip the bottom of a Hershey’s Kiss into the melted chocolate.
- Carefully place the Kiss in the center of a fudge striped cookie, pressing down gently.
- Hold for a few seconds until the chocolate begins to set and the Kiss stays in place.
- Repeat this process for all the cookies.
Decorating Your Witch Hats
Let your creativity shine! This is where you can personalize your Witch Hat Cookies with various decorations.
- Sprinkles: While the chocolate is still wet, sprinkle Halloween-themed sprinkles all over the base of the Kiss where it meets the cookie.
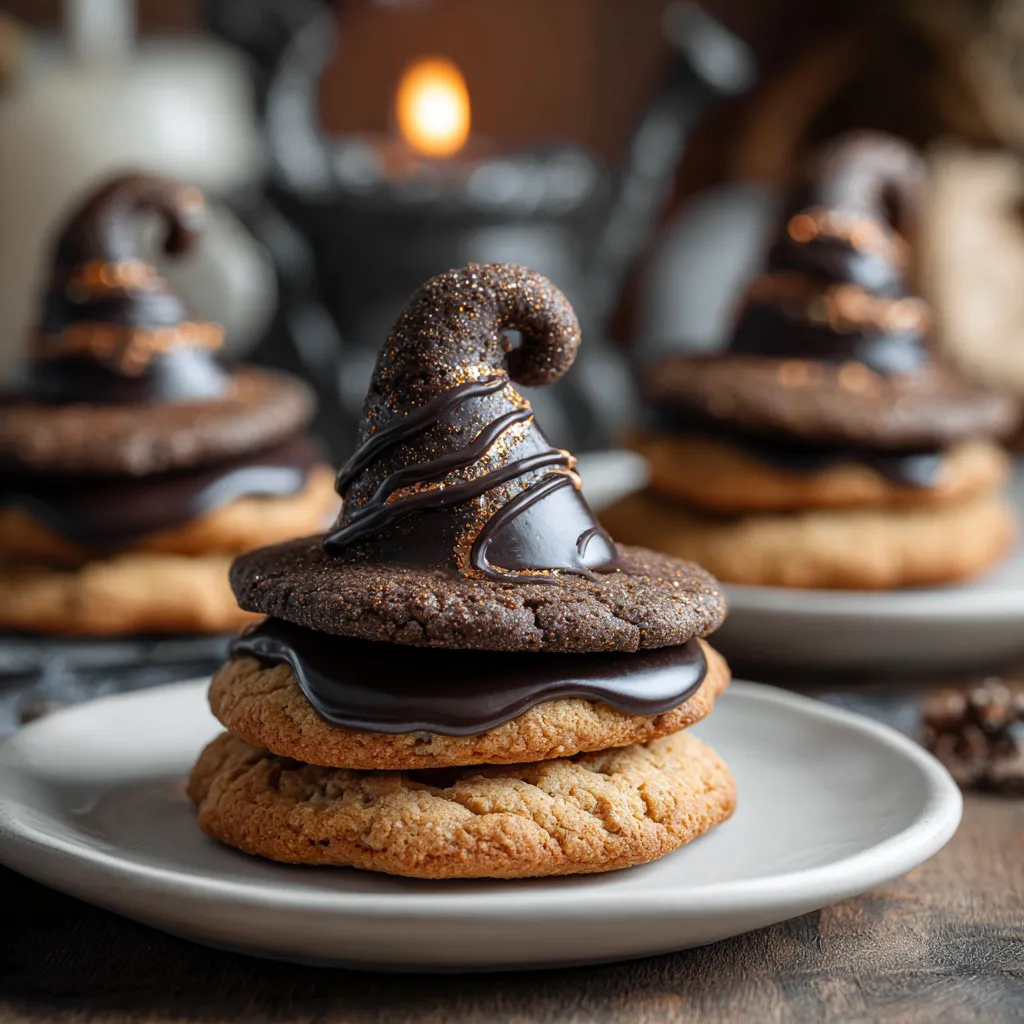
- Icing: Use a piping bag or a Ziploc bag with a small corner snipped off to drizzle melted chocolate or colored icing over the Kiss and the cookie. Create patterns like stripes, dots, or spiderwebs.
- Edible Glitter: For an extra touch of magic, sprinkle edible glitter over the wet chocolate.
Setting and Storage
Once you’ve decorated your Witch Hat Cookies, place the baking sheet in the refrigerator for about 15-20 minutes to allow the chocolate to set completely.
Once set, store the cookies in an airtight container at room temperature. They should stay fresh for up to a week.
Recipe Card: Witch Hat Cookies
Prep Time: 20 minutes | Cook Time: 0 minutes | Total Time: 20 minutes | Category: Dessert | Method: No-Bake | Cuisine: American
Nutrition Card: Witch Hat Cookies (estimated, per cookie)
Calories: 150 | Sugar: 15g | Fat: 8g | Carbohydrates: 20g | Fiber: 1g | Protein: 2g | Yields: 24 cookies
Tips and Troubleshooting
Dealing with Melting Chocolate
If your chocolate seizes up or becomes grainy, it’s likely overheated or has come into contact with water. Try adding a teaspoon of vegetable oil or shortening and stirring vigorously. This can sometimes bring it back to a smooth consistency.
Keeping the Kisses in Place
If the Hershey’s Kisses are sliding off the cookies, make sure the melted chocolate is not too hot. Let it cool slightly before attaching the Kisses. You can also try chilling the cookies in the refrigerator for a few minutes before attaching the Kisses.
Creative Decoration Ideas
- Use different colored candy melts (orange, green, purple) for a more festive look.
- Add a small piece of licorice to the top of the Kiss to create a “buckle” on the witch hat.
- Use edible markers to draw faces or other designs on the Hershey’s Kisses.
FAQs: Your Burning Questions Answered
How do I prevent the chocolate from blooming (white streaks)?
Chocolate blooming happens when the cocoa butter separates from the chocolate. To prevent this, ensure you’re melting the chocolate slowly and evenly. Avoid extreme temperature changes during melting and storage. Tempering chocolate properly also helps prevent blooming.
Can I use a different type of cookie for the base?
Yes! While fudge striped cookies are classic, you can use other cookies like shortbread, chocolate wafers, or even homemade sugar cookies. Just make sure the cookie is relatively flat and sturdy enough to hold the Hershey’s Kiss.
How long do Witch Hat Cookies last?
Witch Hat Cookies will last for up to a week if stored in an airtight container at room temperature. To prevent them from sticking together, you can layer them between sheets of parchment paper.
Can I freeze Witch Hat Cookies?
Yes, you can freeze Witch Hat Cookies. Place them in a single layer on a baking sheet and freeze for about an hour. Once frozen, transfer them to an airtight container or freezer bag. They can be stored in the freezer for up to 2-3 months. Thaw them at room temperature before serving.
Can I make these cookies vegan?
Yes, you can! Use vegan chocolate cookies (many brands offer vegan fudge striped cookies), vegan chocolate kisses (check specialty stores or online retailers), and vegan chocolate melts. The rest of the recipe is naturally vegan-friendly!
I’m so glad you’re here. If you enjoyed this recipe or found it helpful, feel free to share it with your friends and family great food is meant to be shared!
Don’t forget to follow me on Facebook and Pinterest for more delicious recipes, kitchen tips, and daily cooking inspiration, Your support means the world to me, and I look forward to bringing you even more tasty ideas straight from my kitchen.
Print
Ultimate Witch Hat Cookies Recipe Spooky Easy 59 chars
Make spooky Witch Hat Cookies Easy recipe yields impressive Halloween treats Simple steps shortcut tech for quick delicious results 144 chars
- Total Time: 20 minutes
- Yield: 24 cookies
Ingredients
Instructions
- Prep Time: 20 minutes
- Cook Time: 0 minutes
- Category: Dessert
- Cuisine: American
Nutrition
- Calories: 150 calories
- Sugar: 15g
- Fat: 8g
- Carbohydrates: 20g
- Fiber: 1g
- Protein: 2g
