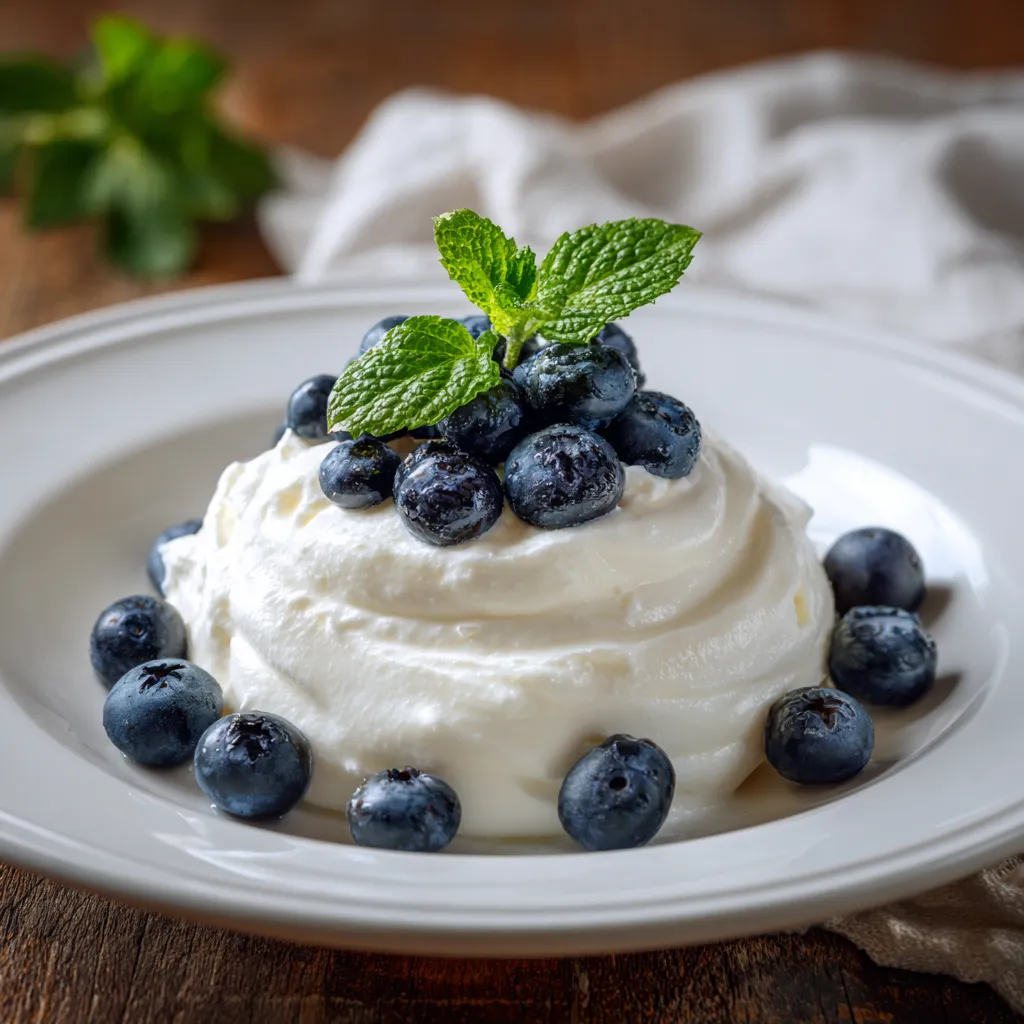
Wholesome Yogurt at Home for Enhanced Digestion Recipe
Welcome to my kitchen! I’m Nyla—a chef with a true love for creating recipes that not only taste amazing but also bring people together. This website is where I share my favorite dishes, cooking tips, and step-by-step guides to help you enjoy the process as much as the result. Whether you’re a beginner or a seasoned home cook, you’ll find inspiration here to make every meal special! Today, we’re diving into a simple yet powerful recipe: homemade yogurt. This isn’t just any yogurt; it’s a gut-friendly, digestion-boosting delight that you can easily whip up in your own kitchen. Get ready to transform your breakfasts, snacks, and even desserts with this creamy, healthy treat!
A Brief Overview of This Recipe
Forget those store-bought yogurts packed with sugars and artificial ingredients! This recipe focuses on creating yogurt that’s not only delicious but also incredibly beneficial for your digestive health. By making it yourself, you control exactly what goes in, ensuring a pure and wholesome product. We’re talking about a creamy, tangy yogurt teeming with probiotics – those friendly bacteria that work wonders for your gut. Think of it as a little army marching through your digestive system, keeping everything in balance.

Ingredients You Will Need
The beauty of this recipe lies in its simplicity. You only need a few key ingredients:
- Milk: 1 gallon of whole milk (pasteurized, but not ultra-pasteurized or UHT). Whole milk provides the richest, creamiest texture, but you can experiment with 2% or skim milk if you prefer a lighter option. Avoid ultra-pasteurized milk as it can inhibit the yogurt cultures from properly activating.
- Yogurt Starter: 2 tablespoons of plain, live-culture yogurt (store-bought or from a previous batch). Make sure it contains active cultures like Lactobacillus bulgaricus and Streptococcus thermophilus. These are the workhorses that turn milk into yogurt!
Equipment Needed
- Large pot
- Candy thermometer
- Glass jars or containers with lids
- Insulated cooler or oven
- Whisk

Step-by-Step Instructions
Ready to get started? Here’s how to make your own gut-friendly yogurt at home:
- Heat the Milk: Pour the milk into a large pot and heat it over medium heat, stirring occasionally to prevent scorching. Use your candy thermometer to monitor the temperature. You want to reach 180°F (82°C). This heating process denatures the milk proteins, resulting in a thicker, creamier yogurt. Imagine the milk proteins as tiny tangled balls that, when heated, unravel and create a network that traps water, giving the yogurt its characteristic texture.
- Cool the Milk: Remove the pot from the heat and let the milk cool to 110°F (43°C). This is crucial because too much heat will kill the active cultures in your starter. You can speed up the cooling process by placing the pot in an ice bath, stirring frequently. Think of it like giving your cultures a gentle, warm bath instead of a scorching sauna.
- Add the Yogurt Starter: Once the milk has cooled, gently whisk in the yogurt starter. Make sure the starter is evenly distributed. This is where the magic happens! The active cultures in the starter will feed on the lactose in the milk, converting it into lactic acid, which gives yogurt its tangy flavor and thick texture.
- Incubate the Yogurt: Pour the inoculated milk into your glass jars or containers. Place the jars in an insulated cooler or an oven (turned off). If using a cooler, fill it with warm water (around 100-110°F) to maintain a consistent temperature. If using an oven, simply turn on the oven light. The goal is to keep the yogurt at a stable, warm temperature for 6-12 hours. The longer it incubates, the tangier it will become. This is where patience comes in handy!
- Chill the Yogurt: After incubation, transfer the jars to the refrigerator and chill for at least 4 hours. This will stop the fermentation process and further thicken the yogurt. Chilling also enhances the flavor, giving it a refreshing tang.

Tips for Success
- Use a Reliable Thermometer: Accurate temperature control is essential for successful yogurt making.
- Maintain a Stable Temperature: Consistent warmth during incubation is key for the cultures to thrive.
- Don’t Disturb the Yogurt: Avoid moving or shaking the yogurt during incubation.
- Strain for Greek Yogurt: If you prefer a thicker, Greek-style yogurt, line a colander with cheesecloth and strain the yogurt in the refrigerator for a few hours.
Serving Suggestions
Now that you have your homemade yogurt, it’s time to enjoy it! Here are some delicious ways to serve it:
- Breakfast: Top with fresh fruit, granola, and a drizzle of honey or maple syrup.
- Snack: Enjoy it plain or with a sprinkle of nuts and seeds.
- Smoothies: Blend it with your favorite fruits and vegetables for a healthy and creamy smoothie.
- Sauces: Use it as a base for creamy sauces and dips, like tzatziki or raita.
- Desserts: Swirl it into cakes or muffins for added moisture and tanginess.

Why Homemade Yogurt is Better for Digestion
Commercially produced yogurts often contain added sugars, artificial flavors, and preservatives that can disrupt your gut health. Making yogurt at home allows you to avoid these additives and control the ingredients. Plus, homemade yogurt typically has a higher concentration of beneficial probiotics, making it a powerful tool for promoting healthy digestion. These probiotics help to break down food, absorb nutrients, and keep your gut microbiome balanced. Think of them as the gardeners of your gut, tending to the ecosystem and keeping it flourishing.
Prep Time: 15 minutes | Total Time: 6-12 hours (incubation) + 4 hours (chilling) | Kcal: Varies depending on milk and additions | Yield: Approximately 1 gallon
Thank you for being here! I’m so glad you’re here. If you enjoyed this recipe or found it helpful, feel free to share it with your friends and family—great food is meant to be shared! Don’t forget to follow me on Facebook and Instagram for more delicious recipes, kitchen tips, and daily cooking inspiration. Your support means the world to me, and I look forward to bringing you even more tasty ideas straight from my kitchen.
Can I use raw milk to make yogurt?
While it’s possible to make yogurt with raw milk, it’s not recommended due to potential health risks. Pasteurization kills harmful bacteria that may be present in raw milk. It’s always best to prioritize safety when preparing food.
What if my yogurt doesn’t thicken?
Several factors can prevent yogurt from thickening, including using ultra-pasteurized milk, insufficient incubation time, or a weak starter culture. Make sure your milk is properly heated and cooled, your incubation temperature is stable, and your starter is fresh and active.
How long does homemade yogurt last?
Homemade yogurt typically lasts for 1-2 weeks in the refrigerator. Look for any signs of spoilage, such as mold or an off odor, before consuming.
Can I use a yogurt maker?
Yes, a yogurt maker can simplify the incubation process by maintaining a consistent temperature. Follow the manufacturer’s instructions for best results.
What can I do with the whey left over from straining yogurt?
Don’t throw away the whey! It’s a nutritional powerhouse that can be used in smoothies, soups, or baked goods. You can also use it to soak grains or as a fertilizer for your plants.

Homemade Yogurt Recipe Boost Digestion Gut Health
Craft gutfriendly yogurt at home This homemade yogurt recipe boosts digestion enhances gut health Simple technique delicious results
- Total Time: 10 hours 34 minutes
- Yield: Approximately 1 gallon 1x
Ingredients
Instructions
- Prep Time: 15 minutes
- Cook Time: 0 minutes
- Category: Breakfast, Snack, Dessert
- Cuisine: American
Nutrition
- Calories: 150
- Sugar: 11g
- Fat: 8g
- Carbohydrates: 11g
- Fiber: 0g
- Protein: 8g
