Looking for the perfect Halloween treat that’s both spooky and scrumptious? These Spooky Spider Web Brownies are your answer! This easy-to-follow recipe transforms classic, fudgy brownies into a festive masterpiece with a simple yet striking spider web design created with melted white chocolate. From classroom parties to Halloween gatherings, these brownies are sure to be a crowd-pleaser. Get ready to bake up some fun and create a memorable Halloween dessert that everyone will love. This article provides a comprehensive guide to making these delightful treats, covering everything from the ingredients you’ll need and step-by-step instructions to helpful tips and frequently asked questions. We’ll also include nutritional information and a printable recipe card for your convenience. So, gather your ingredients, preheat your oven, and let’s get started on creating these Spooky Spider Web Brownies!
Ingredients: Everything You Need for Spooky Success
Before we dive into the baking process, let’s make sure you have all the necessary ingredients. Here’s a comprehensive list to help you gather everything you need to create these spooky spider web brownies:
- For the Brownies:
- 1 box (13×9-inch size) brownie mix (plus ingredients called for on the box, usually eggs, oil, and water) – Using a mix simplifies the process, but you can always use your favorite homemade brownie recipe!
- For the Spider Web Decoration:
- 4 ounces white chocolate, melted – High-quality white chocolate melts smoother and tastes better.
- Optional: Black gel food coloring – For creating a darker, more dramatic web effect.
- Optional: Plastic spider decorations – Adds a fun and creepy touch!
Preparing the Brownies: Laying the Foundation for Spooky Fun
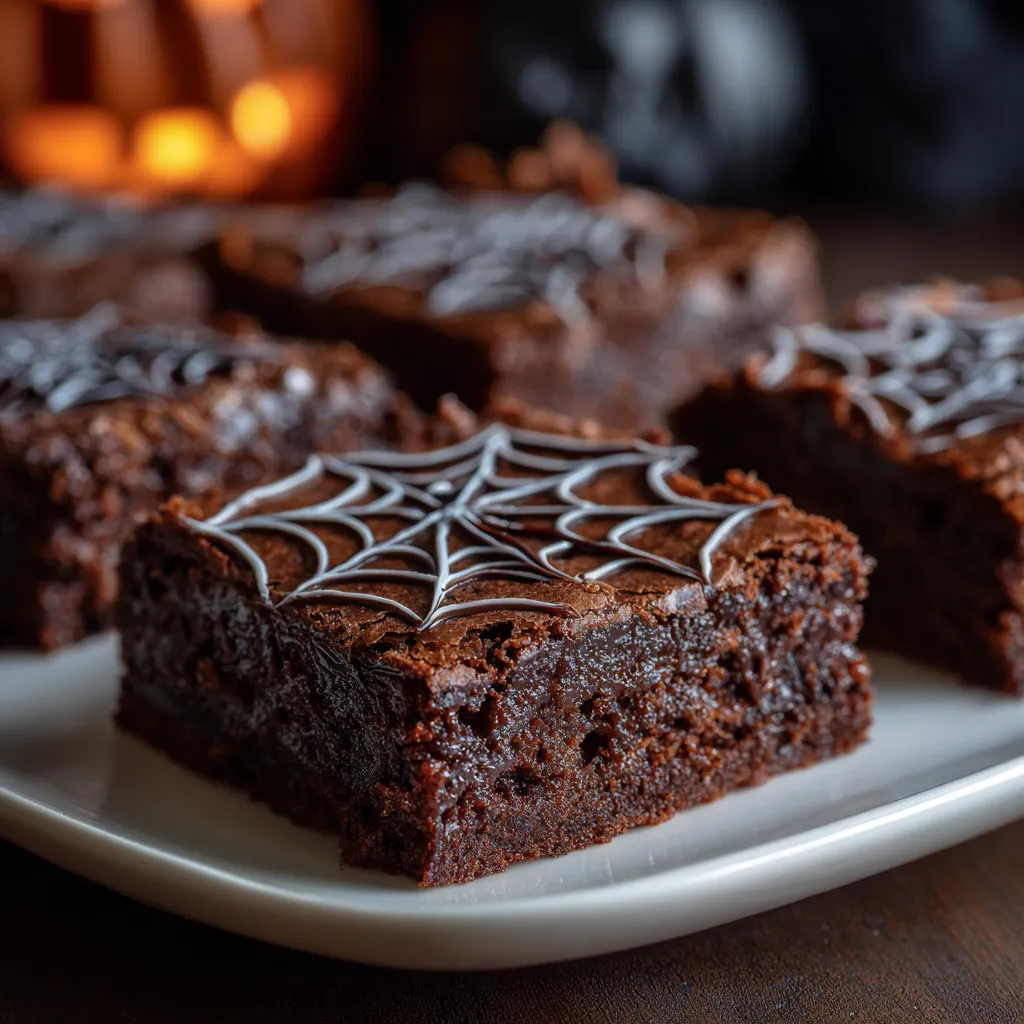
Now that you’ve gathered your ingredients, it’s time to prepare the brownie base. This step is crucial, as it sets the stage for the spooky spider web design.
Baking the Brownies
- Preheat your oven: Follow the temperature instructions on your brownie mix box. Typically, it’s around 350°F (175°C).
- Prepare the brownie batter: In a large bowl, combine the brownie mix with the required eggs, oil, and water as indicated on the box. Mix until well combined, being careful not to overmix. Overmixing can lead to tough brownies.
- Pour into pan: Grease and flour a 13×9 inch baking pan. This prevents the brownies from sticking and makes them easier to remove later. Pour the brownie batter into the prepared pan and spread evenly.
- Bake: Bake for the time specified on the brownie mix box, usually around 25-30 minutes. To check for doneness, insert a toothpick into the center of the brownies. If it comes out with moist crumbs attached, the brownies are done. Be careful not to overbake, as this will result in dry brownies.
- Cool completely: Once the brownies are baked, remove them from the oven and let them cool completely in the pan. This is important because warm brownies are more difficult to decorate and can cause the white chocolate to melt unevenly.
Creating the Spider Web: A Step-by-Step Guide
Melting the White Chocolate
While the brownies are cooling, prepare the white chocolate for the spider web design.
- In a microwave-safe bowl, microwave the white chocolate in 30-second intervals, stirring in between, until completely melted and smooth. Be careful not to overheat the chocolate, as it can seize up and become unusable.
- If desired, add a small amount of black gel food coloring to a portion of the melted white chocolate to create a darker shade for contrast. Mix well until the color is evenly distributed. This step is optional, but it can enhance the visual appeal of the spider web.
Decorating the Brownies: From Simple to Spooky
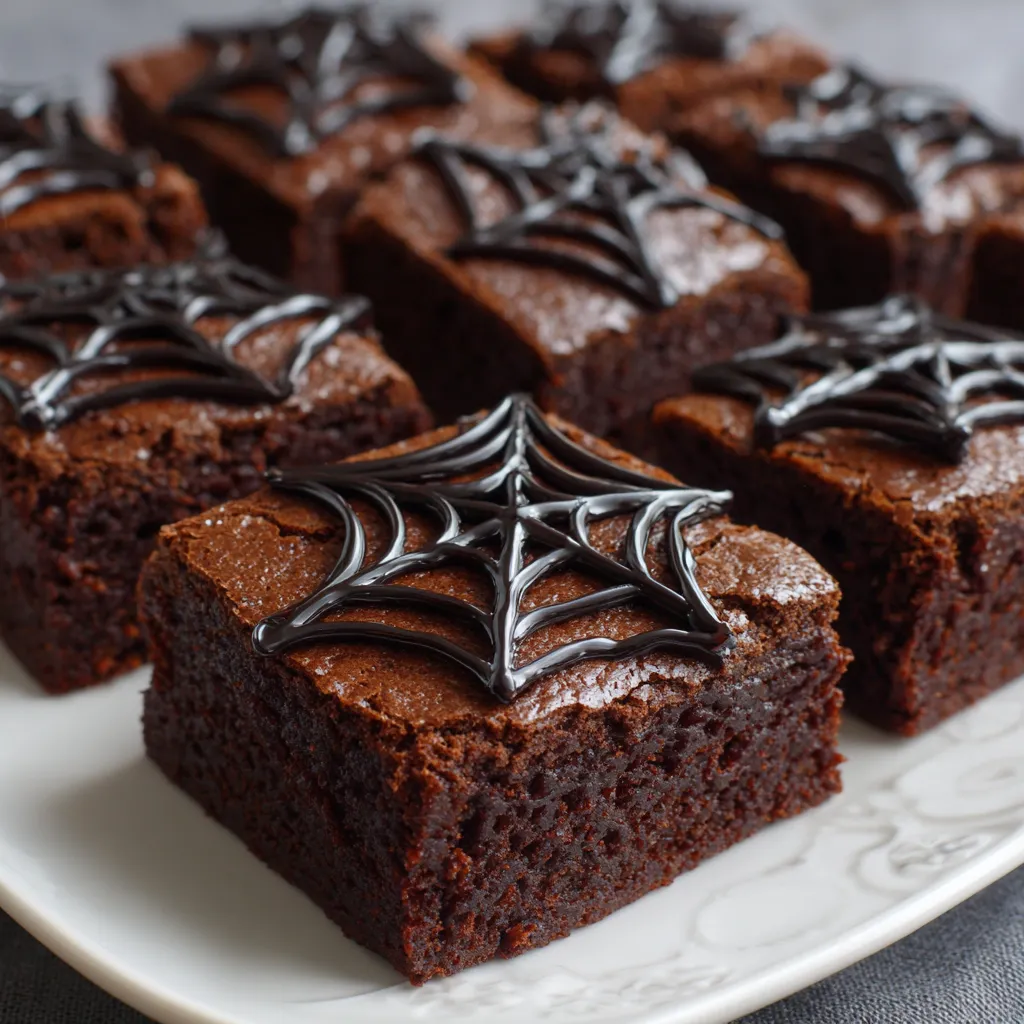
Now comes the fun part: transforming your brownies into spooky spider webs!
Creating the Web Design
- Drizzle: Once the brownies are completely cooled, drizzle the melted white chocolate (and the black-tinted chocolate, if using) over the brownies in concentric circles, starting from the center and working outwards. Aim for even spacing between the circles.
- Swirl: Using a toothpick or skewer, drag it from the center of the brownie towards the edge in straight lines, creating a spider web effect. Repeat this process around the entire pan of brownies.
- Optional: For an extra touch of spookiness, place plastic spider decorations on top of the spider web.
- Set: Allow the white chocolate to set completely before cutting and serving the brownies. This will prevent the design from smudging.
Tips and Tricks for the Perfect Spider Web Brownies
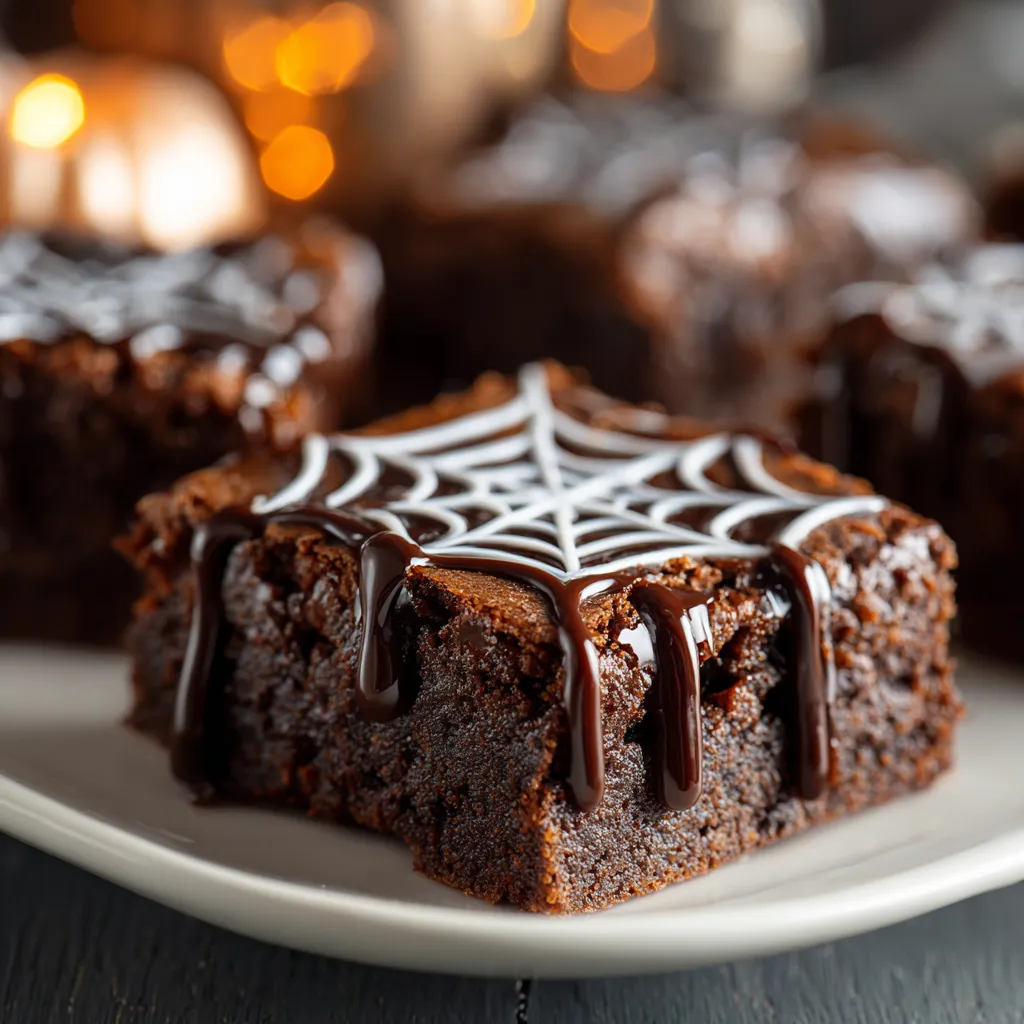
Here are some helpful tips and tricks to ensure your Spooky Spider Web Brownies turn out perfectly every time:
- Use high-quality white chocolate: High-quality white chocolate melts smoother and tastes better.
- Don’t overheat the chocolate: Overheated chocolate can seize up and become unusable. Microwave in short intervals, stirring in between, until just melted.
- Cool the brownies completely: Warm brownies are more difficult to decorate and can cause the white chocolate to melt unevenly.
- Use a toothpick or skewer to create the web design: A toothpick or skewer allows for precise control and helps create a clean, even web.
- Get creative with decorations: Add plastic spiders, sprinkles, or other Halloween-themed decorations to personalize your brownies.
- Make ahead of time: These brownies can be made a day or two in advance. Store them in an airtight container at room temperature.
Variations and Adaptations: Make it Your Own
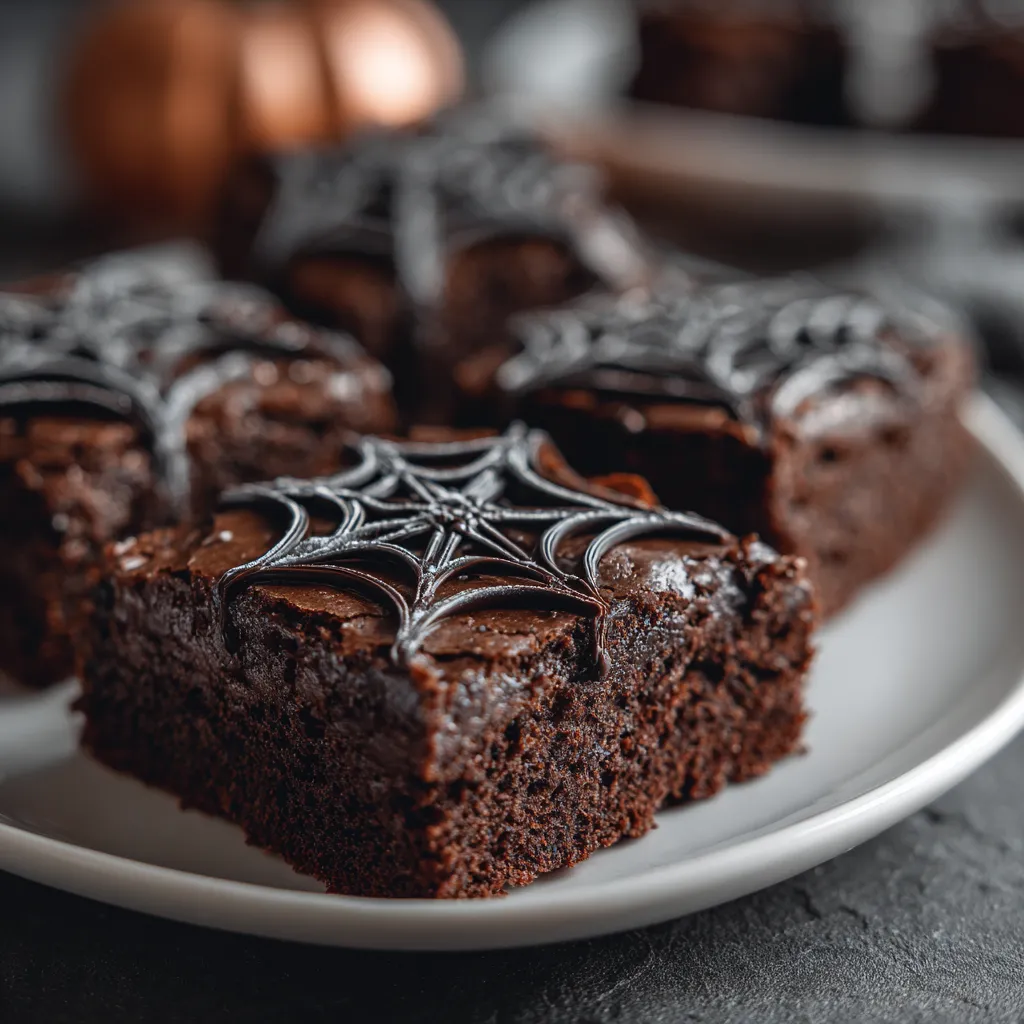
Want to add your own personal touch to these Spooky Spider Web Brownies? Here are some variations and adaptations to inspire you:
- Different brownie base: Use your favorite homemade brownie recipe or try a different flavor, such as chocolate chip, peanut butter, or red velvet.
- Different chocolate: Use dark chocolate or milk chocolate instead of white chocolate for the spider web design.
- Different colors: Use different gel food colorings to create a colorful spider web design.
- Add nuts or candy: Add chopped nuts, chocolate chips, or candy pieces to the brownie batter for added texture and flavor.
- Gluten-free: Use a gluten-free brownie mix or recipe to make these brownies gluten-free.
- Vegan: Use a vegan brownie mix or recipe and vegan white chocolate to make these brownies vegan.
Recipe Card: Spooky Spider Web Brownies
Here’s a handy recipe card for easy reference:
Prep Time: 15 minutes | Cook Time: 25-30 minutes | Total Time: 1 hour (includes cooling time) | Category: Dessert | Method: Baking | Cuisine: American
Nutrition Card: Spooky Spider Web Brownies
Approximate nutritional information per serving (values may vary depending on specific ingredients and portion sizes):
Calories: 250 | Sugar: 30g | Fat: 12g | Carbohydrates: 35g | Fiber: 1g | Protein: 3g | Yields: 16 servings
FAQs: Your Burning Questions Answered
How do I prevent the white chocolate from seizing up when melting it?
The key to preventing white chocolate from seizing is to melt it gently and slowly. Use a microwave in 30-second intervals, stirring in between, until just melted. Avoid overheating, as this is the most common cause of seizing. You can also add a teaspoon of vegetable oil or shortening to the chocolate before melting it to help keep it smooth.
Can I use a different type of chocolate for the spider web design?
Yes, you can definitely use other types of chocolate! Dark chocolate or milk chocolate would work well and offer a different flavor profile. Just be sure to melt the chocolate slowly and carefully, as with white chocolate, to prevent seizing.
How far in advance can I make these brownies?
You can make these brownies a day or two in advance. Store them in an airtight container at room temperature to maintain their freshness and prevent them from drying out. It’s best to decorate them closer to the serving time, but the decorated brownies also store well.
What if I don’t have a microwave? Can I melt the chocolate on the stovetop?
Absolutely! You can melt the chocolate on the stovetop using a double boiler. Fill a saucepan with a couple of inches of water and bring it to a simmer. Place a heatproof bowl on top of the saucepan, ensuring the bottom of the bowl doesn’t touch the water. Add the chocolate to the bowl and stir occasionally until melted and smooth.
Can I freeze these Spooky Spider Web Brownies?
Yes, you can freeze these brownies, but it’s best to freeze them undecorated. Wrap the cooled brownies tightly in plastic wrap, then place them in a freezer-safe bag or container. They can be frozen for up to 2-3 months. When ready to serve, thaw them overnight in the refrigerator and then decorate as directed.
I’m so glad you’re here. If you enjoyed this recipe or found it helpful, feel free to share it with your friends and family great food is meant to be shared!
Don’t forget to follow me on Facebook and Pinterest for more delicious recipes, kitchen tips, and daily cooking inspiration, Your support means the world to me, and I look forward to bringing you even more tasty ideas straight from my kitchen.
Print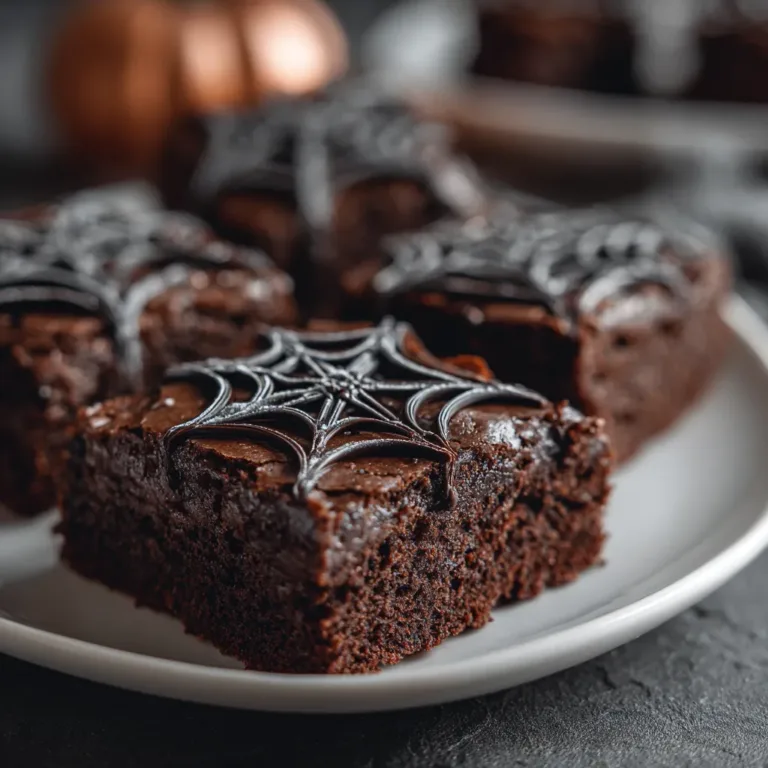
Spooky Spider Web Brownies The ULTIMATE Halloween Treat
Make spooky spider web brownies ultimate Halloween treat Easy baking recipe decadent chocolate flavor Perfect for parties 116 chars
- Total Time: 1 hour 0 minutes
- Yield: 16 servings 1x
Ingredients
- 1 box (13×9-inch size) brownie mix
- Eggs, oil, and water (as called for on brownie mix box)
- 4 ounces white chocolate
- Black gel food coloring (optional)
- Plastic spider decorations (optional)
Instructions
- Preheat your oven: Follow the temperature instructions on your brownie mix box (typically around 350°F or 175°C).
- Prepare the brownie batter: Combine the brownie mix with the required eggs, oil, and water as indicated on the box. Mix until well combined.
- Pour into pan: Grease and flour a 13×9 inch baking pan. Pour the brownie batter into the prepared pan and spread evenly.
- Bake: Bake for the time specified on the brownie mix box, usually around 25-30 minutes. Check for doneness with a toothpick.
- Cool completely: Let the brownies cool completely in the pan.
- Melt the white chocolate: Microwave in 30-second intervals, stirring in between, until completely melted and smooth. Add black gel food coloring if desired.
- Drizzle: Drizzle the melted white chocolate over the brownies in concentric circles.
- Swirl: Using a toothpick or skewer, drag it from the center of the brownie towards the edge in straight lines, creating a spider web effect.
- Optional: Place plastic spider decorations on top of the spider web.
- Set: Allow the white chocolate to set completely before cutting and serving the brownies.
- Prep Time: 15 minutes
- Cook Time: 25 minutes
- Category: Dessert
- Cuisine: American
Nutrition
- Calories: 250 calories
- Sugar: 30 g
- Fat: 12 g
- Carbohydrates: 35 g
- Fiber: 1 g
- Protein: 3 g
