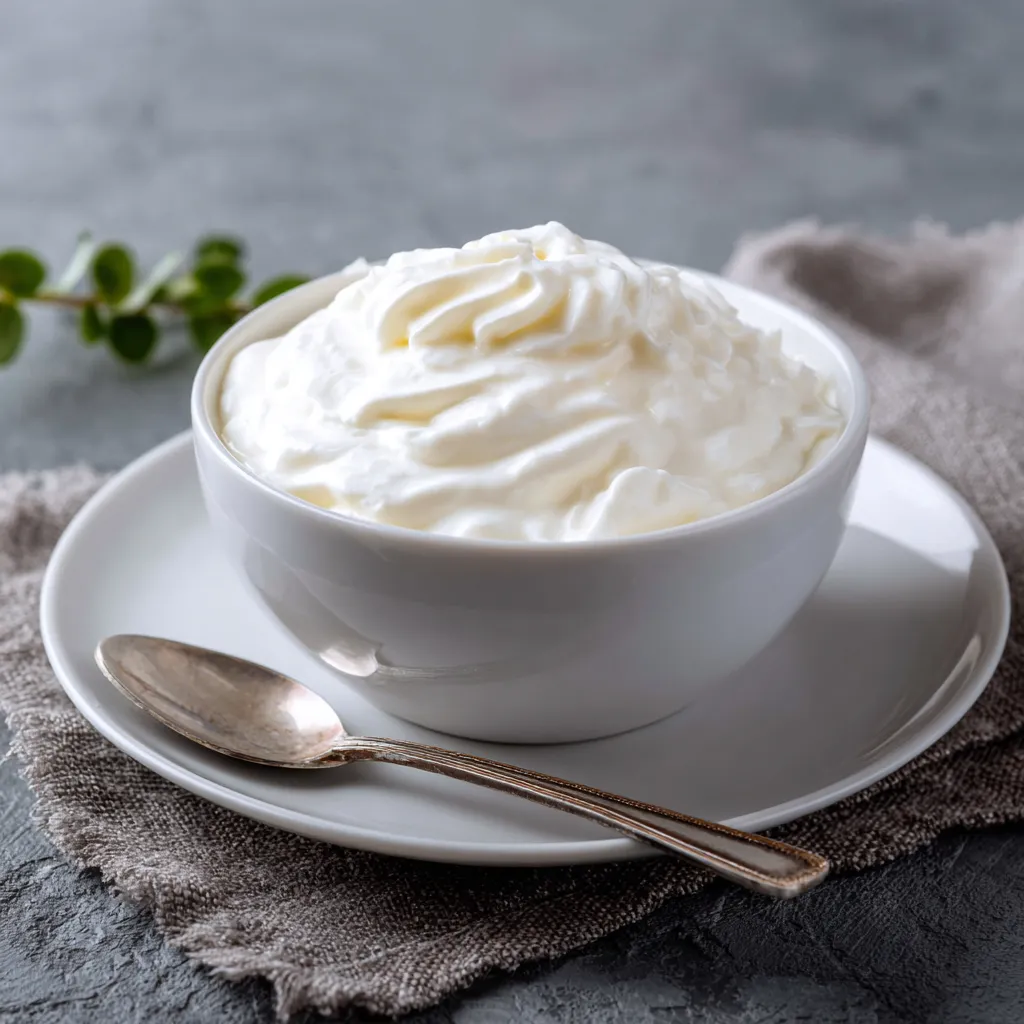
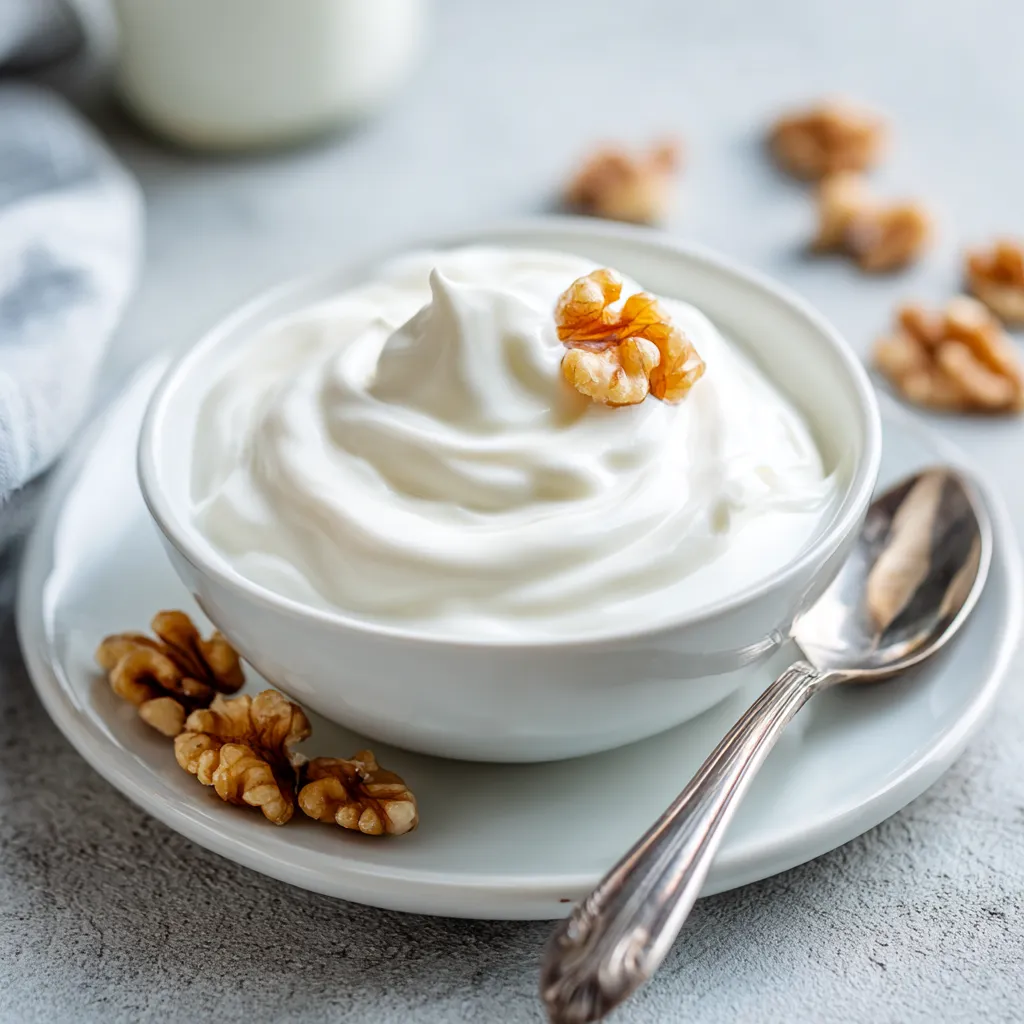
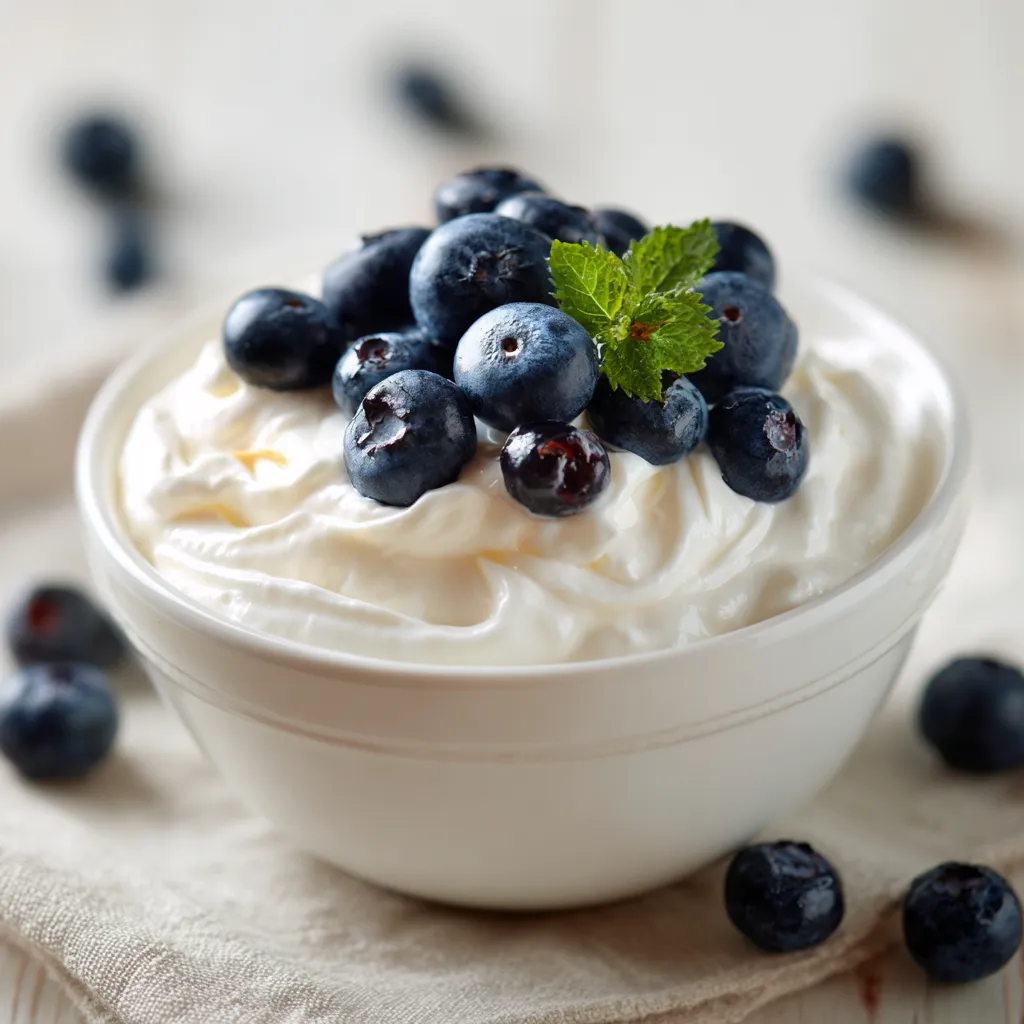
Simple Yogurt Making for a Healthier Gut Recipe
Welcome to my kitchen! I’m Nyla—a chef with a true love for creating recipes that not only taste amazing but also bring people together. This website is where I share my favorite dishes, cooking tips, and step-by-step guides to help you enjoy the process as much as the result. Whether you’re a beginner or a seasoned home cook, you’ll find inspiration here to make every meal special! Today, we’re diving into something truly simple and beneficial: Yogurt making at home. It’s easier than you think and fantastic for your gut health!A Quick Look at Homemade Yogurt
Making yogurt at home might sound intimidating, but trust me, it’s incredibly straightforward. The beauty of this recipe lies in its simplicity: a few ingredients, a little patience, and you’re rewarded with creamy, tangy yogurt packed with probiotics. Think of it as planting a tiny seed of goodness that blossoms into a flourishing garden in your belly! We’ll walk through everything from the necessary supplies to the nitty-gritty of incubation. So, let’s get started on this adventure to create gut-friendly yogurt right in your own kitchen.
What You’ll Need: The Essentials
Before we jump into the step-by-step process, let’s gather our supplies. Thankfully, the list is short and sweet.- Milk: 1/2 gallon (8 cups) of whole milk, 2% milk, or even non-dairy alternatives like almond or soy milk (though results may vary). Whole milk produces the thickest, creamiest yogurt.
- Yogurt Starter: 2 tablespoons of plain, active culture yogurt from a previous batch or a store-bought container. Make sure it contains live and active cultures, like Lactobacillus bulgaricus and Streptococcus thermophilus.
- A Pot: A large, heavy-bottomed pot to heat the milk evenly.
- Thermometer: A reliable thermometer to monitor the milk’s temperature.
- Incubation Vessel: Jars or a container to incubate the yogurt.
- Incubation Method: This could be a yogurt maker, an Instant Pot with a yogurt setting, or even a warm oven.
- Whisk: To stir the milk and incorporate the starter.
The Secret Steps to Delicious Homemade Yogurt
Here’s the breakdown of how to turn milk into a creamy, probiotic-rich delight:- Heat the Milk: Pour the milk into your heavy-bottomed pot. Heat it over medium heat, stirring frequently to prevent scorching. Bring the milk to 180-185°F (82-85°C). This step is crucial as it denatures the milk proteins, which helps create a thicker yogurt.
- Cool the Milk: Remove the pot from the heat and let the milk cool down to 110-115°F (43-46°C). This is the ideal temperature for the yogurt cultures to thrive. You can speed up the cooling process by placing the pot in an ice bath, but be careful not to let any water splash into the milk.
- Add the Starter: Once the milk has cooled, gently whisk in the yogurt starter until it’s fully incorporated.
- Incubate: Pour the mixture into your chosen incubation vessel(s). Now it’s time to let the magic happen. The incubation period allows the live cultures to multiply and transform the milk into yogurt.
- Yogurt Maker: Follow the manufacturer’s instructions. Typically, this involves setting the timer for 6-8 hours.
- Instant Pot: Use the yogurt setting and set the timer for 8-12 hours, depending on your desired tanginess. Longer incubation times result in tangier yogurt.
- Oven: Preheat your oven to the lowest setting (ideally below 200°F). Turn off the oven, place the yogurt inside, and leave the door slightly ajar. Check after 6-8 hours. You may need to turn the oven on for a very short period if the temperature drops too low.
- Chill: Once the incubation is complete, transfer the yogurt to the refrigerator and chill for at least 2 hours. This chilling process stops the fermentation and helps the yogurt thicken further.

Tips and Tricks for the Perfect Batch
- Milk Matters: Experiment with different types of milk to find your favorite flavor and consistency.
- Starter Quality: Always use fresh, active culture yogurt as your starter. Avoid yogurt that contains additives or thickeners.
- Cleanliness: Ensure all your equipment is clean and sanitized to prevent any unwanted bacteria from contaminating your yogurt.
- Don’t Overheat: Overheating the milk can affect the final texture and flavor of the yogurt.
- Patience is Key: Resist the urge to peek during incubation! Disturbing the process can affect the outcome.
Serving Suggestions
Now that you have a batch of beautiful, homemade yogurt, how do you enjoy it? The possibilities are endless!- Breakfast Bowl: Top with fresh fruits, granola, nuts, and a drizzle of honey or maple syrup.
- Smoothies: Add a scoop to your favorite smoothie for extra creaminess and probiotics.
- Dips: Use it as a base for creamy dips with herbs and spices.
- Baking: Substitute it for sour cream or mayonnaise in your favorite baking recipes.
- Sauces: Whisk it into sauces for added tang and richness.

Prep Time: 15 minutes | Total Time: 8-14 hours | Kcal: Varies (depending on milk type) | Yield: Approximately 4 cups
Thank you for being here! I’m so glad you’re here. If you enjoyed this recipe or found it helpful, feel free to share it with your friends and family—great food is meant to be shared! Don’t forget to follow me on Facebook and Instagram for more delicious recipes, kitchen tips, and daily cooking inspiration. Your support means the world to me, and I look forward to bringing you even more tasty ideas straight from my kitchen.FAQ
Can I use non-dairy milk to make yogurt?
Yes, you can! Almond, soy, and coconut milk can be used, but the results may vary in terms of thickness and texture. You might need to add a thickener like tapioca starch or agar-agar to achieve a thicker consistency.
What if my yogurt doesn’t thicken properly?
Several factors can affect thickening. Make sure your milk was heated to the proper temperature and cooled to the correct temperature before adding the starter. The quality of your starter yogurt also plays a role. If it still doesn’t thicken, try incubating for a longer period.
How long does homemade yogurt last?
Homemade yogurt will typically last for 1-2 weeks in the refrigerator, similar to store-bought yogurt. Always check for any signs of spoilage before consuming.
Can I reuse yogurt from my homemade batch as a starter?
Yes, you can! Using yogurt from a previous homemade batch is a great way to keep the process going. However, after a few generations, the cultures may weaken, so it’s a good idea to occasionally use a fresh store-bought starter to maintain optimal results.
What causes the whey (liquid) to separate from the yogurt?
Whey separation is a natural process and doesn’t mean your yogurt is spoiled. It simply means the proteins have contracted. You can either stir the whey back into the yogurt or drain it off for a thicker consistency. Draining the whey results in Greek-style yogurt.
Print
Easy Yogurt Recipe Supercharge Gut Health Now
Easy yogurt recipe supercharges gut health Simple healthy homemade yogurt tech Boost digestion wellness today
- Total Time: 8 hours 15 minutes
- Yield: 4 cups 1x
Ingredients
Instructions
- Prep Time: 15 minutes
- Cook Time: 0 minutes
- Category: Dairy
- Cuisine: American
Nutrition
- Calories: 150 kcal
- Sugar: 11 g
- Fat: 8 g
- Carbohydrates: 11 g
- Fiber: 0 g
- Protein: 8 g
