Probiotic-Rich Pickled Veggies Recipe
Imagine a jar brimming with colorful vegetables, each bite delivering a tangy crunch and a boost of beneficial probiotics. That’s exactly what this recipe offers! These probiotic-rich pickled veggies are not only delicious but also incredibly easy to make. The process of fermentation naturally produces probiotics, which are live microorganisms that support a healthy gut. This recipe combines the art of pickling with the science of gut health, resulting in a side dish that’s both flavorful and beneficial.
Why Choose Homemade Probiotic Pickles?
Store-bought pickles often lack the live cultures that make them truly probiotic. Many commercially produced pickles are pasteurized, a process that kills off those beneficial bacteria. By making your own probiotic-rich pickled veggies, you have complete control over the ingredients and the fermentation process, ensuring you get a truly probiotic-packed product. Plus, it’s a fun and rewarding way to experiment in the kitchen!
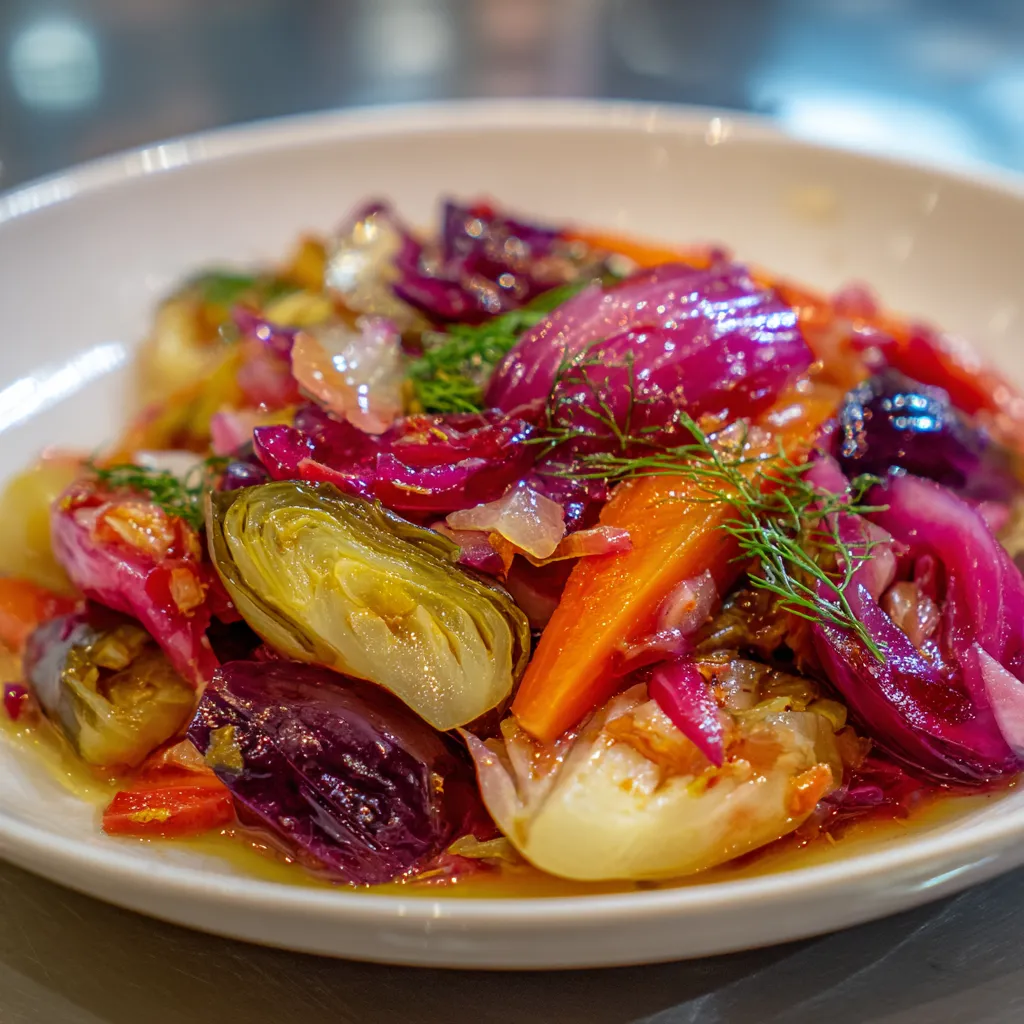
Ingredients You’ll Need
The beauty of this recipe is its flexibility. You can use almost any combination of vegetables you like! Here’s a list to get you started:
- 1 head of cabbage, shredded
- 2 carrots, peeled and sliced
- 2 cucumbers, sliced
- 1 red bell pepper, seeded and chopped
- 4 cloves garlic, minced
- 1 inch ginger, peeled and grated
- 2 tablespoons sea salt (non-iodized)
- 4 cups filtered water
- 1 teaspoon red pepper flakes (optional, for a little heat)
- Your favorite herbs and spices (dill, mustard seeds, peppercorns, etc.)
Step-by-Step Instructions: The Pickling Process
Let’s get pickling! Follow these simple steps to create your own batch of probiotic-rich pickled veggies:
- Prepare the Vegetables: Wash and chop all the vegetables according to the ingredient list. The size and shape are up to you!
- Combine Ingredients: In a large bowl, combine the shredded cabbage, sliced carrots, cucumbers, bell pepper, minced garlic, and grated ginger.
- Salt the Vegetables: Sprinkle the sea salt over the vegetables. Massage the salt into the vegetables for about 5-10 minutes. This helps to draw out the moisture and start the fermentation process. You’ll notice the vegetables start to soften and release liquid.
- Prepare the Brine: In a separate bowl, dissolve the 2 tablespoons of sea salt in 4 cups of filtered water. Stir until the salt is completely dissolved.
- Pack the Vegetables: Pack the salted vegetables into a clean, sterilized jar or crock. Make sure to press the vegetables down firmly to remove any air pockets.
- Pour the Brine: Pour the saltwater brine over the vegetables, making sure they are completely submerged. Leave about an inch of headspace at the top of the jar.
- Add Weight (Optional): To keep the vegetables submerged, you can use a fermentation weight, a small glass jar filled with water, or a clean rock.
- Ferment: Cover the jar loosely with a lid or cheesecloth secured with a rubber band. This allows air to escape while preventing pests from getting in. Store the jar at room temperature (65-75°F is ideal) for 3-7 days, or until the probiotic-rich pickled veggies reach your desired level of tartness. Taste them each day to monitor the progress.
- Refrigerate: Once the pickles have reached your desired level of tartness, transfer them to the refrigerator. This will slow down the fermentation process. They will continue to develop flavor in the fridge.
- Enjoy: Your probiotic-rich pickled veggies are ready to eat! Enjoy them as a side dish, a topping for salads, or a healthy snack.
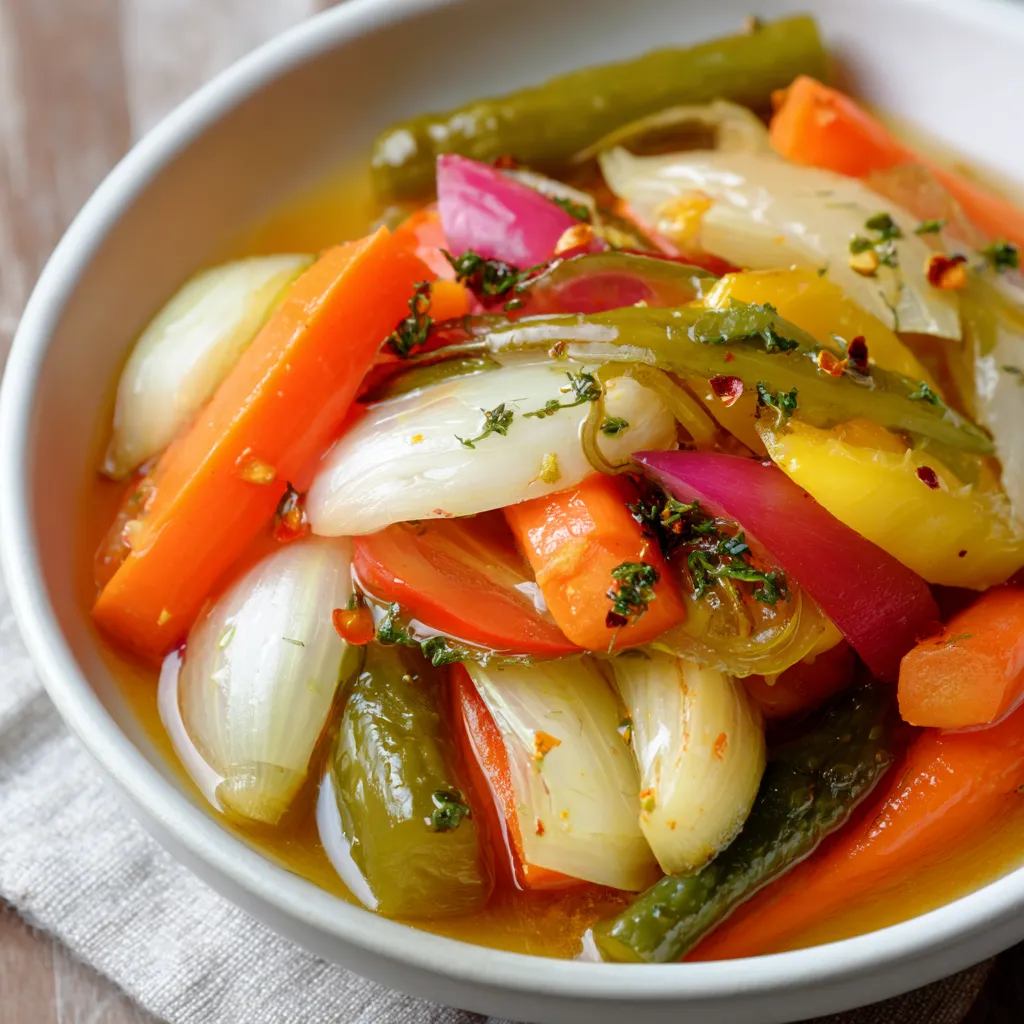
Tips and Tricks for Perfect Pickles
Want to take your pickling game to the next level? Here are a few tips and tricks:
- Use Non-Iodized Salt: Iodized salt can inhibit the fermentation process, so make sure to use sea salt or kosher salt.
- Sterilize Your Jars: Sterilizing your jars helps to prevent the growth of unwanted bacteria or mold. You can sterilize them by boiling them in water for 10 minutes or running them through the dishwasher.
- Keep Vegetables Submerged: Keeping the vegetables submerged in the brine is crucial for preventing mold growth. Use a fermentation weight or other method to ensure they stay submerged.
- Monitor the Fermentation: Taste your pickles daily to monitor the fermentation process. The longer they ferment, the more tart they will become.
- Experiment with Flavors: Don’t be afraid to experiment with different herbs, spices, and vegetables to create your own unique flavor combinations.
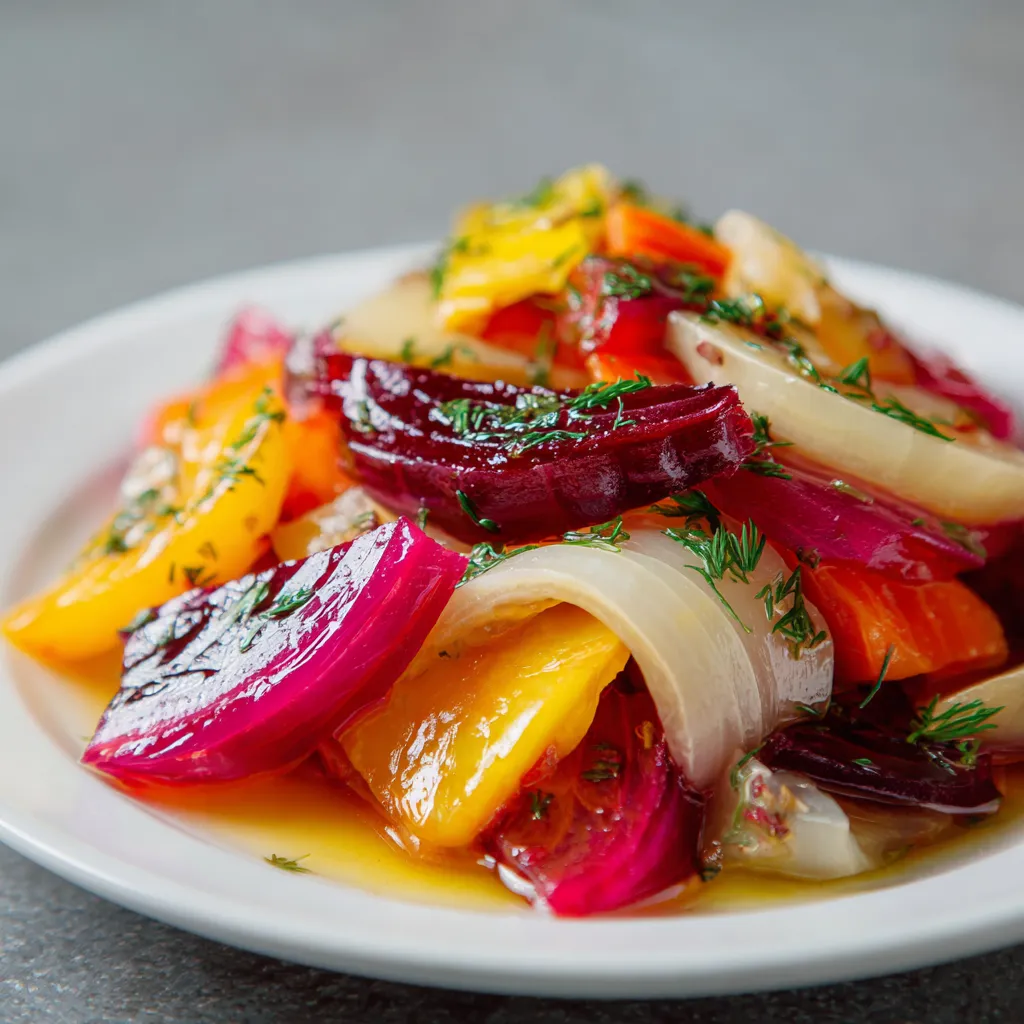
Health Benefits of Probiotic-Rich Pickled Veggies
Beyond their delicious taste, probiotic-rich pickled veggies offer a wide range of health benefits. The probiotics produced during fermentation can:
- Improve digestion and gut health
- Boost the immune system
- Reduce inflammation
- Promote nutrient absorption
- Support mental health
By incorporating these probiotic-rich pickled veggies into your diet, you can support your overall well-being and enjoy a tasty and nutritious snack.
Serving Suggestions
These probiotic-rich pickled veggies are incredibly versatile and can be enjoyed in a variety of ways:
- As a side dish with grilled meats or fish
- As a topping for salads or sandwiches
- As a healthy snack
- As an addition to charcuterie boards
- Mixed into dips or spreads
Get creative and find your own favorite ways to enjoy these delicious and nutritious pickles!
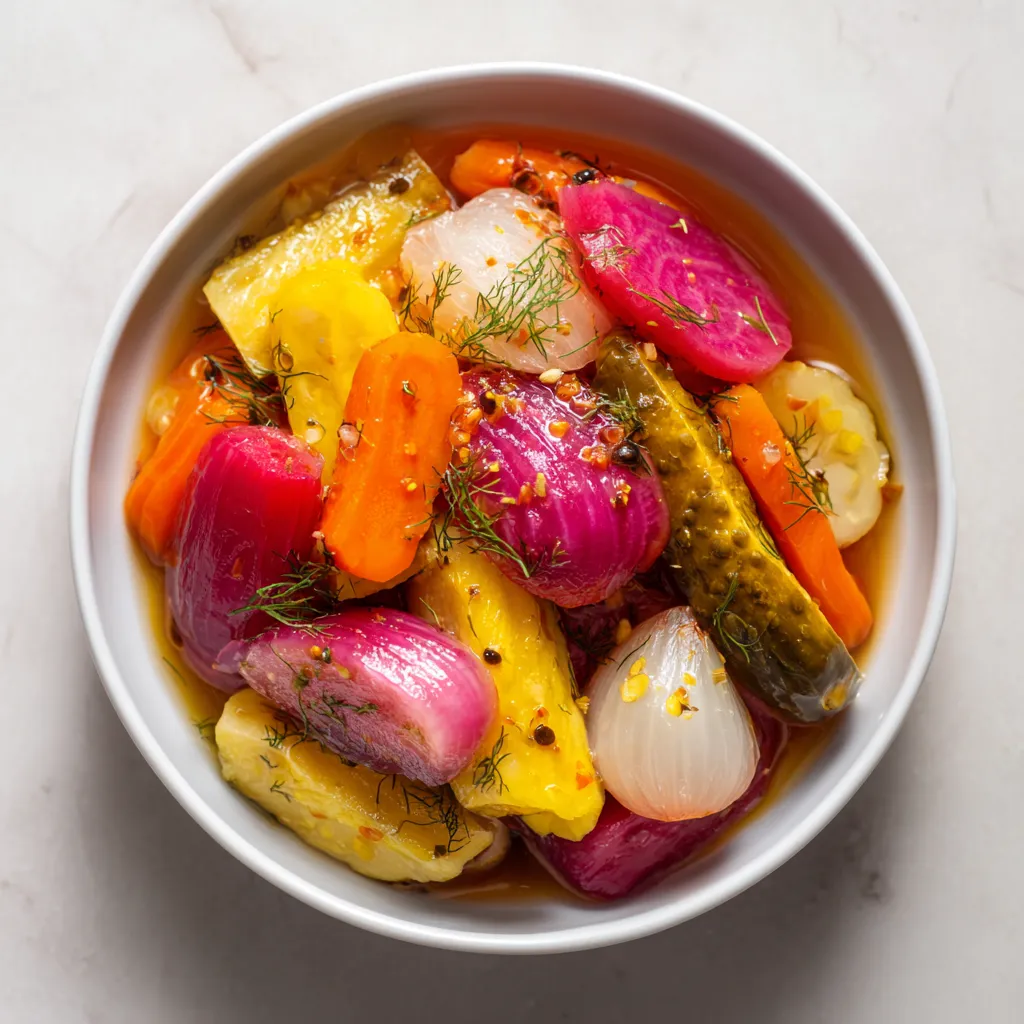
Prep Time: 20 minutes | Total Time: 3-7 days fermentation + chilling | Kcal: Approximately 30 per serving | Yield: 1 quart jar
Thank you for being here! I’m so glad you’re here. If you enjoyed this recipe or found it helpful, feel free to share it with your friends and family—great food is meant to be shared! Don’t forget to follow me on Facebook and Instagram for more delicious recipes, kitchen tips, and daily cooking inspiration. Your support means the world to me, and I look forward to bringing you even more tasty ideas straight from my kitchen.
FAQ: Your Pickling Questions Answered
Can I use different vegetables?
Absolutely! Feel free to experiment with different vegetables like green beans, cauliflower, radishes, or beets. Just make sure they are fresh and clean.
How long will the pickles last in the fridge?
Properly stored in the refrigerator, these probiotic-rich pickled veggies will last for several weeks, even months. Just be sure to use clean utensils when taking them out of the jar to prevent contamination.
What if I see mold growing on the top?
If you see mold growing on the top of the brine, it’s best to discard the entire batch. Mold can be harmful and should not be consumed.
Why are my pickles mushy?
Mushy pickles can be caused by using too much salt or by fermenting them for too long. Make sure to follow the recipe carefully and taste them regularly to monitor the fermentation process.
Can I use a different type of salt?
It’s best to use sea salt or kosher salt, as iodized salt can inhibit the fermentation process. Table salt often contains additives that can affect the flavor and texture of your pickles.
Print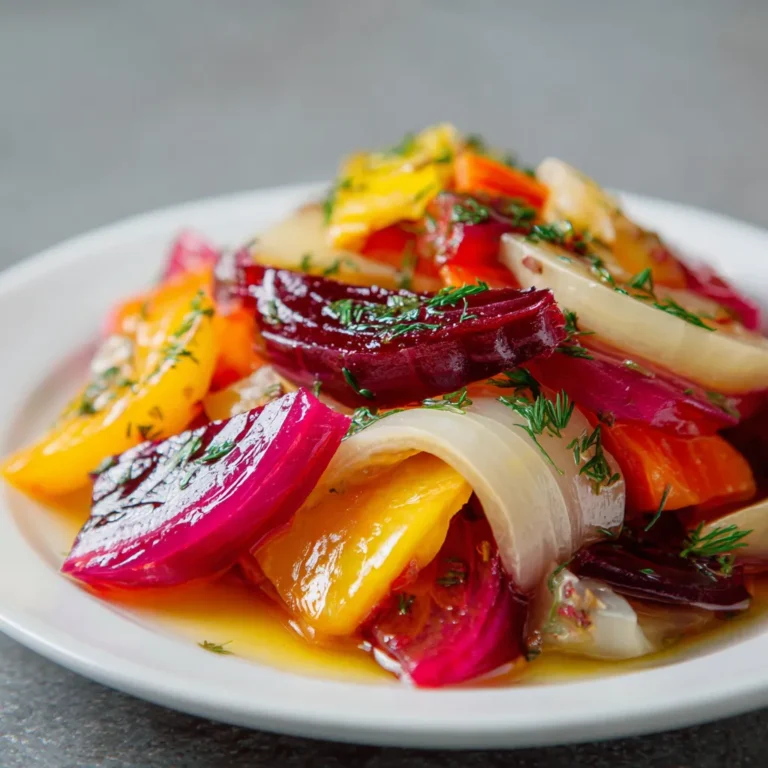
GutFriendly Pickled Veggies Easy Probiotic Recipe
Easy probiotic recipe Gutfriendly pickled veggies boost gut health naturally Learn the simple technique for tasty fermented flavors
- Total Time: P3DT7D
- Yield: 1 quart jar 1x
Ingredients
Instructions
- Prep Time: 20 minutes
- Cook Time: 0 minutes
- Category: Side Dish
- Cuisine: Fermented
Nutrition
- Calories: 30 kcal
- Sugar: 3 grams
- Fat: 0.1 gram
- Carbohydrates: 6 grams
- Fiber: 2 grams
- Protein: 1 gram
