Easy Homemade Yogurt for Improved Digestion Recipe
Homemade yogurt is a game-changer! Not only does it taste better than most store-bought varieties, but you also have complete control over the ingredients, ensuring a wholesome and gut-friendly product. This recipe focuses on making yogurt at home that is easy to digest and packed with probiotics—those friendly bacteria that keep your gut happy. We’ll be making a delicious, creamy homemade yogurt that’s good for you and your digestive system!
A Brief Overview of This Recipe
This recipe walks you through the process of making yogurt from scratch using just a few simple ingredients: milk and a yogurt starter. The beauty of this recipe is its simplicity. You don’t need any fancy equipment; a pot, a thermometer, and a container to incubate the yogurt are all you need. We’ll cover everything from heating the milk to the perfect temperature to maintaining a consistent warm environment for the yogurt to culture. This homemade yogurt recipe is straightforward, even if you’ve never made yogurt before!

Ingredients You Will Need
Here’s what you’ll need to gather to make your very own batch of creamy, gut-friendly homemade yogurt:
- Milk: 4 cups (1 liter). You can use whole milk for a richer texture, or low-fat or skim milk for a lighter yogurt. Pasteurized or ultra-pasteurized milk works well.
- Yogurt Starter: 2 tablespoons of plain yogurt with live and active cultures. Make sure it’s a yogurt you like the taste of, as it will influence the flavor of your homemade yogurt. Alternatively, you can use a freeze-dried yogurt starter.
Equipment You Will Need
The essential supplies for creating homemade yogurt at home include:
- Large Pot: For heating the milk.
- Thermometer: To accurately monitor the milk temperature.
- Container: For incubating the yogurt. A glass jar or a plastic container with a lid works well.
- Warm Place: An oven with the light on, a yogurt maker, or an Instant Pot with a yogurt setting.

Step-by-Step Instructions
Ready to make some yogurt? Here’s a detailed guide to help you through each step:
Step 1: Heat the Milk
Pour the milk into a large pot. Heat the milk over medium heat, stirring occasionally to prevent scorching. Bring the milk to 180-185°F (82-85°C). This step is crucial as it denatures the milk proteins, resulting in a thicker yogurt. Use your thermometer to monitor the temperature carefully.
Step 2: Cool the Milk
Remove the pot from the heat and let the milk cool down to 110-115°F (43-46°C). You can speed up this process by placing the pot in an ice bath, stirring frequently. This temperature range is ideal for the yogurt cultures to thrive.
Step 3: Add the Yogurt Starter
Once the milk has cooled to the right temperature, take about a cup of the cooled milk and mix it with the yogurt starter in a small bowl. Gently whisk until the starter is fully dissolved. Then, pour this mixture back into the pot with the rest of the milk and stir gently to combine.
Step 4: Incubate the Yogurt
Pour the milk mixture into your chosen container. Now, it’s time to incubate the yogurt. Here are a few options:
- Oven Method: Preheat your oven to the lowest setting, then turn it off. Place the container in the oven with the light on. The residual heat and the light should provide a consistent warm environment.
- Yogurt Maker: If you have a yogurt maker, simply follow the manufacturer’s instructions.
- Instant Pot Method: Use the yogurt setting on your Instant Pot. Follow the instructions in your Instant Pot manual for making yogurt.
Incubate the yogurt for 6-12 hours, depending on your preference for tartness. The longer it incubates, the tarter it will become. Check the yogurt after 6 hours. It should be set and slightly jiggly.

Step 5: Chill and Enjoy
Once the yogurt has reached your desired consistency and tartness, remove it from the incubator and place it in the refrigerator for at least 2 hours to stop the culturing process and chill it completely. This chilling process also helps to thicken the yogurt further.
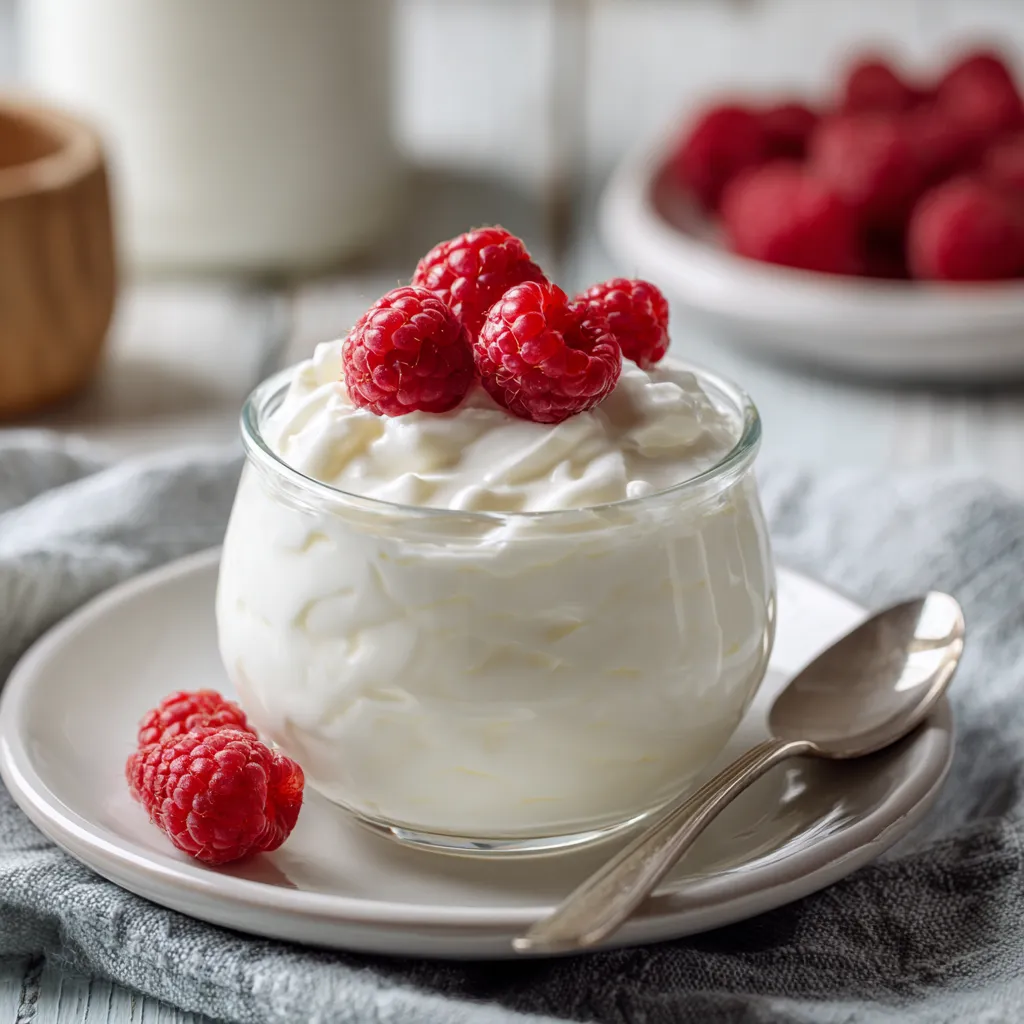
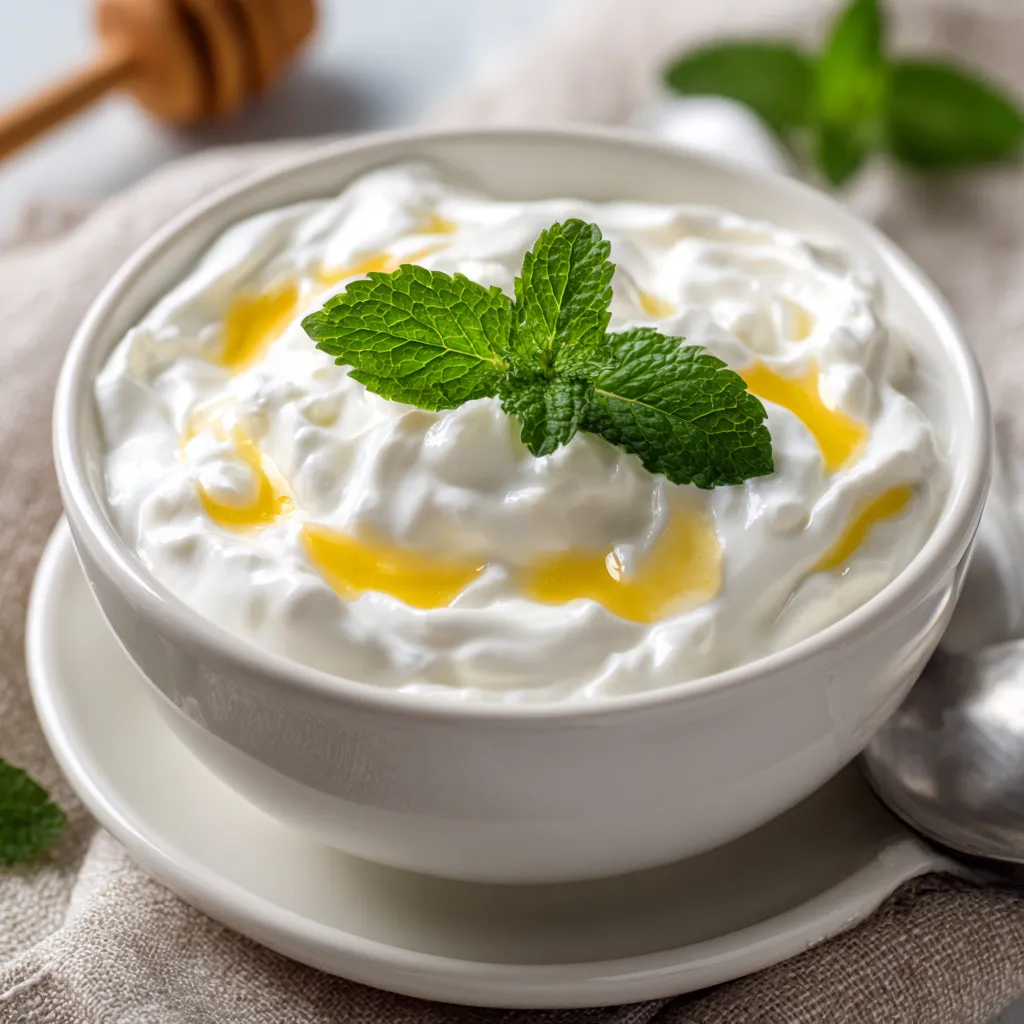
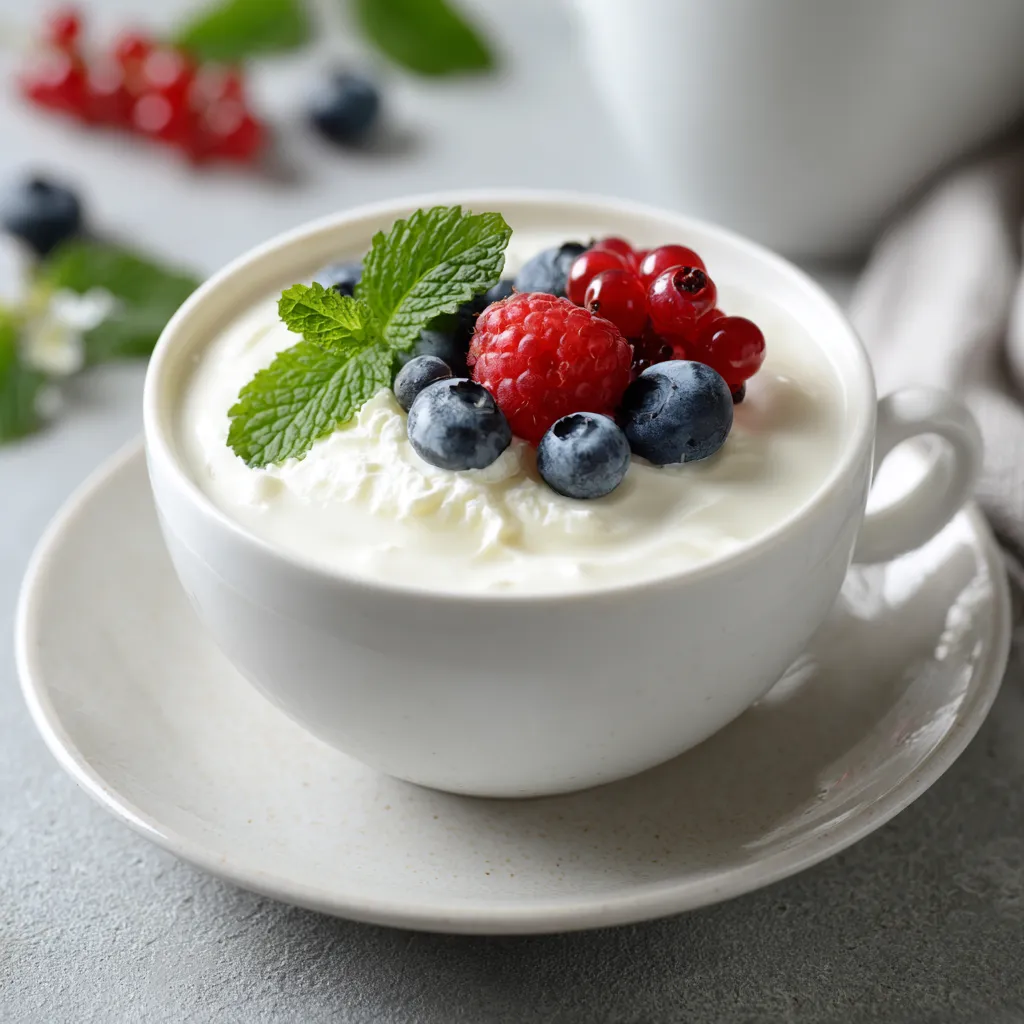
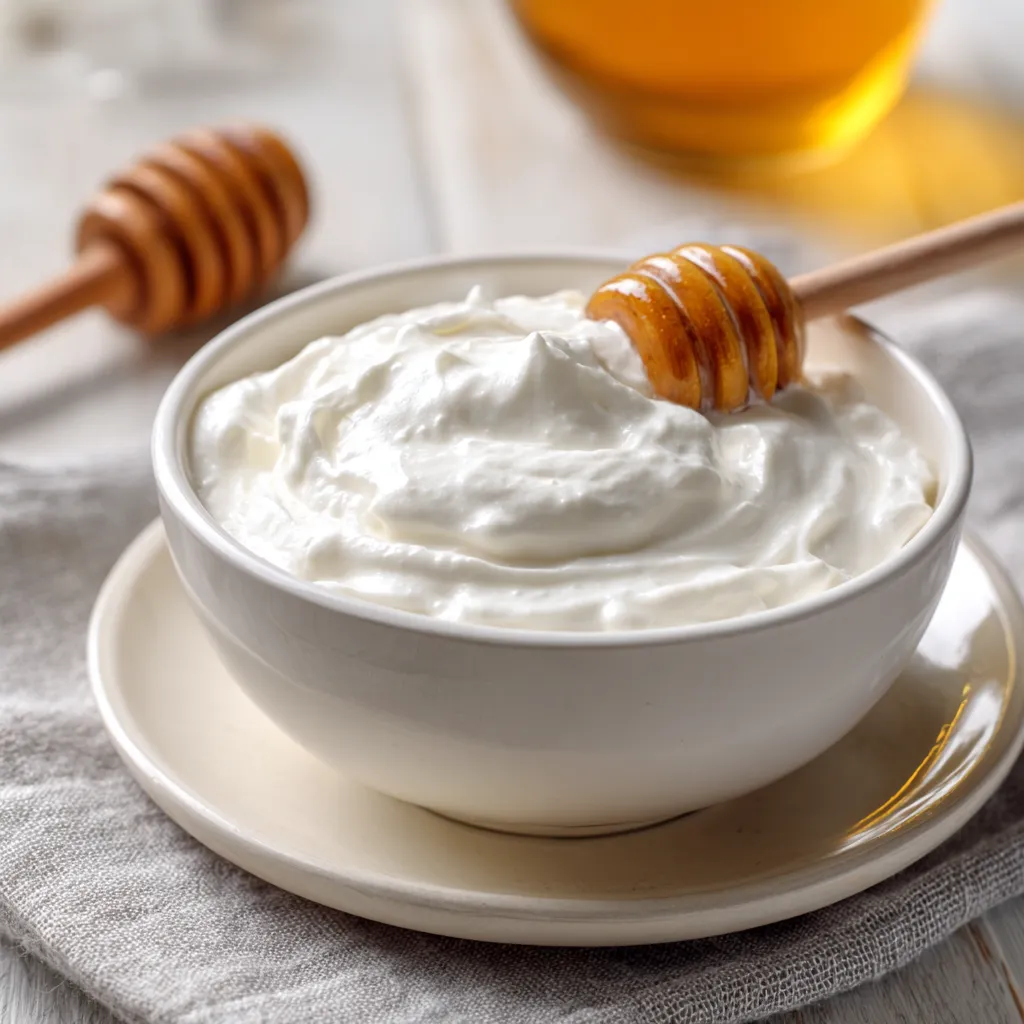
Your homemade yogurt is now ready to enjoy! Serve it plain, with fruit, honey, granola, or use it in your favorite recipes. Store any leftover yogurt in the refrigerator for up to a week.
Tips for Success
Here are some additional tips to help you make the perfect batch of homemade yogurt every time:
- Use Quality Milk: The quality of the milk will directly impact the flavor and texture of your yogurt. Opt for fresh, high-quality milk for the best results.
- Maintain Consistent Temperature: Keeping a stable temperature during incubation is crucial for the yogurt cultures to thrive. Avoid opening the oven or disturbing the yogurt while it’s incubating.
- Don’t Overheat the Milk: Overheating the milk can affect the texture of the yogurt. Use a thermometer to ensure you’re heating it to the correct temperature.
- Experiment with Flavors: Once you’ve mastered the basic recipe, feel free to experiment with different flavors. Add vanilla extract, fruit purees, or sweeteners after the yogurt has chilled.
Prep Time: 15 minutes | Total Time: 8-14 hours (including incubation) | Kcal: Approximately 150 per cup (depending on milk fat content) | Yield: About 4 cups

Troubleshooting Common Issues
Even with the best intentions, things don’t always go as planned. Here are some solutions to common yogurt-making issues:
- Yogurt is Too Thin: This could be due to insufficient heating of the milk, too low of an incubation temperature, or using a starter with weak cultures. Make sure to heat the milk to 180-185°F and maintain a consistent warm environment during incubation.
- Yogurt is Too Sour: The yogurt may have incubated for too long. Next time, check it earlier and reduce the incubation time.
- Yogurt is Grainy: This can happen if the milk was overheated. Monitor the temperature closely to prevent overheating.
- No Yogurt Formation: Ensure your starter is fresh and contains live and active cultures. Also, make sure the milk has cooled to the correct temperature before adding the starter.
By following these tips and instructions, you’ll be well on your way to making delicious, healthy, and gut-friendly homemade yogurt that you and your family will love!
Thank you for being here! I’m so glad you’re here. If you enjoyed this recipe or found it helpful, feel free to share it with your friends and family—great food is meant to be shared! Don’t forget to follow me on Facebook and Instagram for more delicious recipes, kitchen tips, and daily cooking inspiration. Your support means the world to me, and I look forward to bringing you even more tasty ideas straight from my kitchen.
FAQ: Frequently Asked Questions
Can I use non-dairy milk for this recipe?
Yes, you can use non-dairy milk like almond, soy, or coconut milk. However, the texture and taste will vary. Non-dairy milks may require a thickening agent like tapioca starch to achieve a yogurt-like consistency. The success may also depend on the specific starter cultures.
How long does homemade yogurt last in the refrigerator?
Homemade yogurt typically lasts for up to a week in the refrigerator. Be sure to store it in an airtight container to maintain its freshness.
Can I freeze homemade yogurt?
Freezing yogurt can change its texture, making it slightly grainy when thawed. However, it is still safe to eat and can be used in smoothies or baking where the texture is less noticeable.
Do I need a yogurt maker to make homemade yogurt?
No, you don’t need a yogurt maker. You can use an oven with the light on, an Instant Pot with a yogurt setting, or even a cooler filled with warm water to maintain a consistent temperature for incubation.
What if I don’t have a thermometer?
While a thermometer is highly recommended for best results, you can approximate the temperature. Heat the milk until it begins to steam and small bubbles form around the edges of the pot, but do not boil it. For cooling, let it sit until it feels warm, not hot, to the touch.
Print
Easy Homemade Yogurt Recipe Gut Health Digestion BOOST
Boost digestion with this easy homemade yogurt recipe Gut health benefits simple technique ensure creamy delicious yogurt every time
- Total Time: 8 hours 15 minutes
- Yield: 4 cups 1x
Ingredients
Instructions
- Prep Time: 15 minutes
- Cook Time: 0 minutes
- Category: Breakfast
- Cuisine: American
Nutrition
- Calories: 150 kcal
- Sugar: 11 grams
- Fat: 8 grams
- Carbohydrates: 11 grams
- Fiber: 0 grams
- Protein: 8 grams
