Delicious Yogurt Recipe to Support Digestive Wellness
Welcome to my kitchen! I’m Nyla—a chef with a true love for creating recipes that not only taste amazing but also bring people together. This website is where I share my favorite dishes, cooking tips, and step-by-step guides to help you enjoy the process as much as the result. Whether you’re a beginner or a seasoned home cook, you’ll find inspiration here to make every meal special! Today, I’m thrilled to share a recipe close to my heart: a delicious yogurt recipe specifically designed to support digestive wellness. This isn’t just any yogurt; it’s a creamy, flavorful powerhouse packed with probiotics and gut-friendly ingredients. Get ready to transform your mornings (or any time of day!) with this simple and satisfying recipe.
A Brief Overview of This Recipe
This yogurt recipe isn’t your average store-bought variety. We’re going back to basics, crafting a probiotic-rich treat that’s not only good for you but also incredibly customizable. We’ll start with a base of whole milk, adding a touch of sweetness and a potent dose of probiotic cultures. What sets this recipe apart is its simplicity and the ability to tailor it to your unique taste. Whether you prefer it plain, with fresh fruit, or a drizzle of honey, the possibilities are endless. The focus here is on creating a yogurt that supports your digestive system, helping you feel your best from the inside out. Think of it as a daily dose of delicious medicine!

Ingredients You Will Need
To create this gut-friendly yogurt, you’ll need a few simple ingredients:
- 4 cups whole milk (or your preferred dairy-free alternative)
- 2 tablespoons plain yogurt with live and active cultures (as a starter)
- 1-2 tablespoons honey or maple syrup (optional, for sweetness)
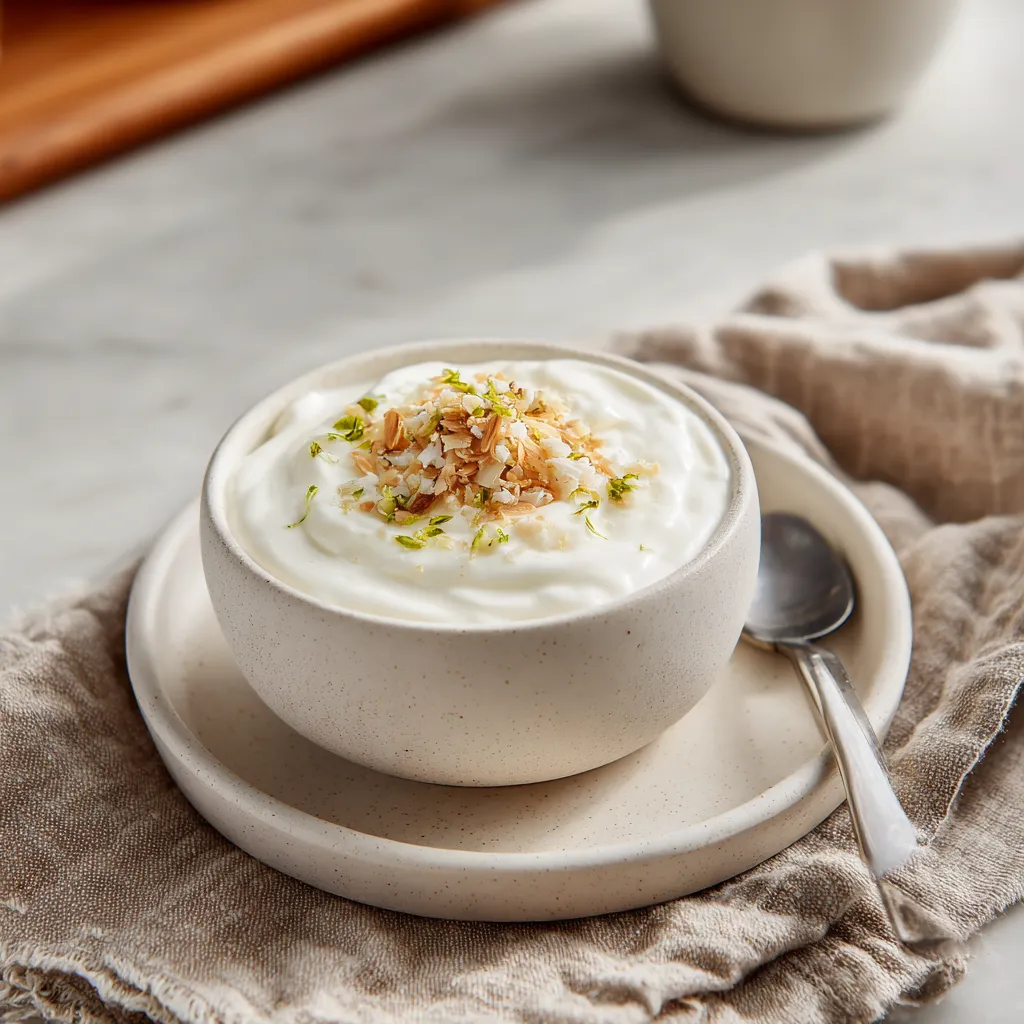
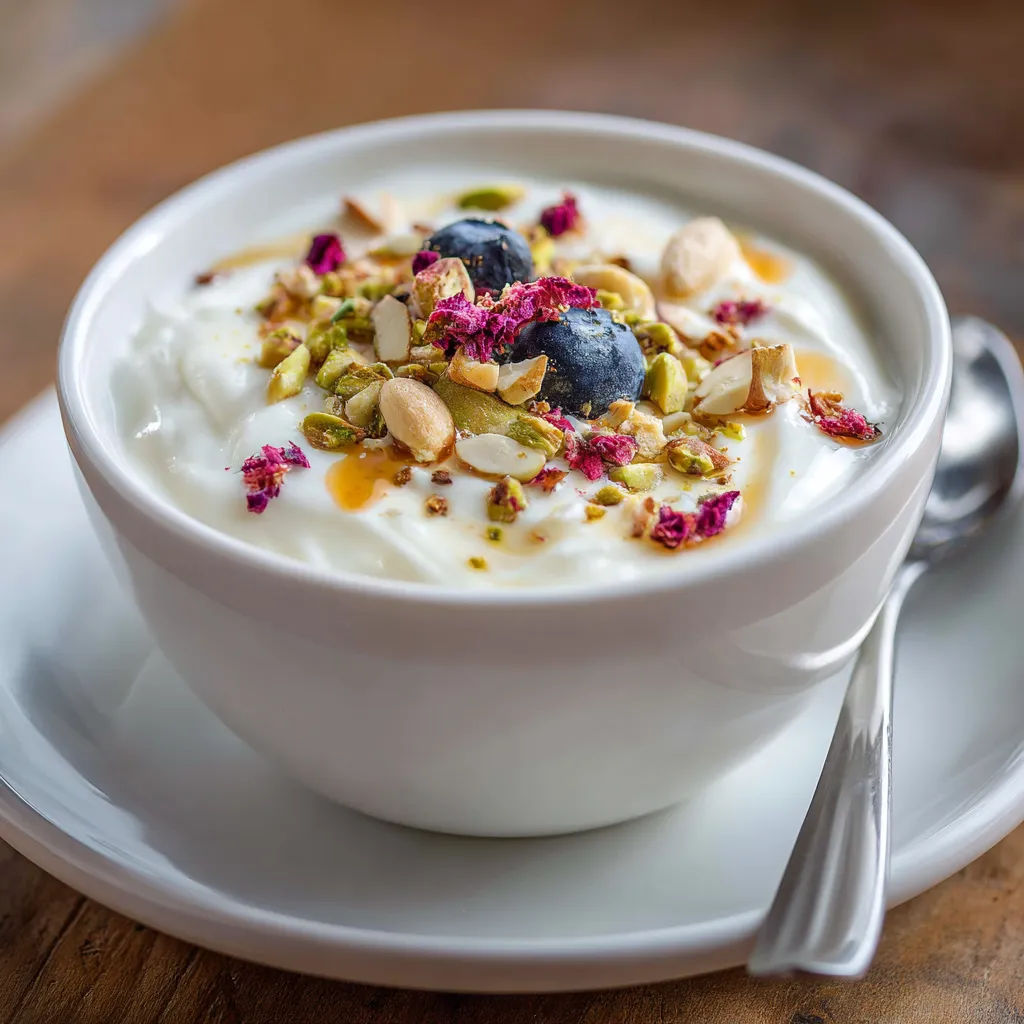
- Optional toppings: fresh fruit, granola, nuts, seeds
The key to success here is using high-quality ingredients. Opt for organic milk if possible, and make sure your starter yogurt contains live and active cultures – these are the beneficial bacteria that will transform the milk into creamy, probiotic-rich goodness. Don’t skimp on the toppings, either! Adding a variety of fruits, nuts, and seeds not only boosts the flavor but also provides essential vitamins, minerals, and fiber.
Step-by-Step Instructions
Making your own yogurt might seem intimidating, but trust me, it’s easier than you think! Here’s a step-by-step guide to help you create the perfect batch:
- Heat the Milk: Pour the milk into a saucepan and heat over medium heat until it reaches 180°F (82°C). This step is crucial for denaturing the milk proteins, resulting in a thicker, creamier yogurt. Use a candy thermometer to monitor the temperature.
- Cool the Milk: Remove the milk from the heat and let it cool down to 110-115°F (43-46°C). This is the ideal temperature for the probiotic cultures to thrive. You can speed up the cooling process by placing the saucepan in a bowl of ice water.
- Add the Starter: Once the milk has cooled, gently stir in the plain yogurt with live and active cultures. Make sure it’s well combined. This starter yogurt contains the bacteria that will ferment the milk and turn it into yogurt.
- Incubate: Pour the milk mixture into a clean jar or container. Wrap the jar in a towel or place it in a yogurt maker to keep it warm and undisturbed. Incubate for 6-12 hours, or until the yogurt has reached your desired consistency. The longer it incubates, the tangier it will become.
- Chill: Once the yogurt has reached your desired consistency, transfer it to the refrigerator and chill for at least 2 hours. This will stop the fermentation process and allow the yogurt to thicken further.
- Enjoy: Serve your homemade yogurt with your favorite toppings and enjoy!

Tips for Success
While this recipe is straightforward, here are a few tips to help you achieve the best results:
- Use a reliable thermometer: Accurate temperature control is essential for successful yogurt making. Invest in a good quality candy thermometer to ensure the milk reaches the correct temperatures.
- Don’t overheat the milk: Overheating the milk can damage the proteins and prevent the yogurt from thickening properly.
- Maintain a consistent temperature: During incubation, it’s important to keep the yogurt at a consistent temperature. A yogurt maker is ideal, but wrapping the jar in a towel or placing it in a warm oven (turned off) can also work.
- Be patient: Yogurt making takes time, so be patient and allow the fermentation process to work its magic. The longer it incubates, the tangier and thicker it will become.
- Experiment with flavors: Once you’ve mastered the basic recipe, feel free to experiment with different flavors and toppings. Add vanilla extract, fruit purees, or a sprinkle of cinnamon for a delicious twist.
Health Benefits of Homemade Yogurt
Beyond its delicious taste, homemade yogurt offers a wealth of health benefits, particularly for digestive wellness. Here are a few reasons to incorporate this recipe into your daily routine:
- Probiotic Powerhouse: Homemade yogurt is packed with live and active cultures, which are beneficial bacteria that support a healthy gut microbiome. These probiotics can aid digestion, boost immunity, and even improve mental health.
- Improved Digestion: The probiotics in yogurt can help break down lactose, making it easier for people with lactose intolerance to digest dairy products. They can also help relieve symptoms of bloating, gas, and constipation.
- Nutrient-Rich: Yogurt is a good source of protein, calcium, and other essential nutrients. It can help build strong bones, support muscle growth, and keep you feeling full and satisfied.
- Reduced Inflammation: Some studies suggest that probiotics may help reduce inflammation throughout the body, potentially lowering the risk of chronic diseases like heart disease, diabetes, and arthritis.
- Weight Management: The protein and probiotics in yogurt can help promote weight loss and prevent weight gain. Protein helps you feel fuller for longer, while probiotics can improve metabolism and reduce fat storage.

Prep Time | Total Time | Kcal | Yield
- Prep Time: 15 minutes
- Total Time: 8-14 hours (including incubation)
- Kcal: Approximately 150-200 per serving (depending on toppings)
- Yield: 4 servings
Variations and Serving Suggestions
One of the best things about this yogurt recipe is its versatility. Here are a few variations and serving suggestions to inspire you:
- Greek Yogurt: For a thicker, tangier yogurt, strain it through cheesecloth for a few hours. This will remove some of the whey and create a Greek-style yogurt that’s perfect for dips, sauces, or as a protein-packed snack.
- Flavored Yogurt: Add fruit purees, extracts, or spices to the milk mixture before incubation to create flavored yogurts. Try vanilla, strawberry, blueberry, or cinnamon.
- Dairy-Free Yogurt: Use almond milk, soy milk, or coconut milk instead of cow’s milk to make a dairy-free version. Keep in mind that the texture and flavor may vary depending on the type of milk you use.
- Parfaits: Layer yogurt with granola, fresh fruit, and a drizzle of honey for a delicious and healthy parfait.
- Smoothies: Add yogurt to your favorite smoothie recipes for a creamy, probiotic-rich boost.
- Dips and Sauces: Use plain yogurt as a base for dips and sauces. Add herbs, spices, and lemon juice for a flavorful and healthy alternative to sour cream or mayonnaise.

Thank you for being here! I’m so glad you’re here. If you enjoyed this recipe or found it helpful, feel free to share it with your friends and family—great food is meant to be shared! Don’t forget to follow me on Facebook and Instagram for more delicious recipes, kitchen tips, and daily cooking inspiration. Your support means the world to me, and I look forward to bringing you even more tasty ideas straight from my kitchen.
FAQ: Frequently Asked Questions
Can I use skim milk instead of whole milk?
While you can use skim milk, whole milk produces a richer and creamier yogurt due to its higher fat content. Skim milk yogurt will be thinner and may not have the same satisfying texture.
What if I don’t have a yogurt maker?
No problem! You can still make yogurt without a yogurt maker. Simply wrap the jar in a thick towel or place it in a warm oven (turned off) to maintain a consistent temperature during incubation.
How long does homemade yogurt last?
Homemade yogurt will last in the refrigerator for up to 1-2 weeks, depending on how fresh your ingredients were and how well it was stored.
My yogurt is too runny. What did I do wrong?
Several factors can contribute to runny yogurt, including using milk that wasn’t heated properly, using a starter yogurt with weak cultures, or not incubating it for long enough. Make sure to follow the instructions carefully and give it more time if needed.
Can I add fruit to the yogurt before incubation?
It’s generally best to add fruit after incubation to prevent it from interfering with the fermentation process. However, you can add a small amount of extract or spices to the milk before incubation for added flavor.

GutFriendly Yogurt Recipe Supercharge Digestion Wellness
Boost digestive wellness w this gutfriendly yogurt recipe Simple tech for creamy delicious yogurt that aids digestion Easy healthy
- Total Time: 8 hours 15 minutes
- Yield: 4 servings 1x
Ingredients
Instructions
- Prep Time: 15 minutes
- Cook Time: 0 minutes
- Category: Breakfast
- Cuisine: American
Nutrition
- Calories: 175 kcal
- Sugar: 14 g
- Fat: 8 g
- Carbohydrates: 15 g
- Fiber: 1 g
- Protein: 9 g
