Creepy Crawly Cake Pops are the perfect Halloween treat, combining delicious cake with a fun, spooky twist. This recipe guides you through creating moist cake balls, coating them in chocolate, and decorating them to resemble creepy crawlies like spiders, worms, and other spooky creatures. From mixing the batter to adding the final decorative touches, this article provides a comprehensive guide to making these eye-catching and delicious treats.
We’ll cover the ingredients you’ll need, step-by-step instructions, and helpful tips to ensure your cake pops are a hit at any Halloween party. Plus, we’ll answer some frequently asked questions to address common concerns and provide additional insights into cake pop making. So, gather your supplies, and let’s get ready to create some creepy, crawly, and utterly delightful cake pops!
Ingredients:
- For the Cake:
- 1 box (15.25 oz) cake mix (chocolate, vanilla, or your favorite flavor)
- Ingredients called for on the cake mix box (usually eggs, oil, and water)
- For the Cake Pops:
- 1/2 cup frosting (matching the cake flavor)
- 12 oz chocolate candy coating (dark chocolate, milk chocolate, or colored)
- Cake pop sticks
- Vegetable shortening (if needed, to thin the chocolate)
- For Decoration:
- Candy eyes
- Licorice strings (for spider legs or worms)
- Sprinkles (Halloween-themed)
- Colored candy melts (for drizzling)
- Other candies (e.g., gummy worms, candy spiders)

Baking the Cake:
Before you can assemble your creepy crawly cake pops, you’ll need to bake the cake. Follow these simple steps to ensure a moist and delicious base for your treats.
- Prepare the Cake Batter: In a large bowl, combine the cake mix with the ingredients listed on the box (usually eggs, oil, and water). Mix according to the package instructions until well combined.
- Bake the Cake: Pour the batter into a greased and floured 9×13 inch baking pan. Bake according to the cake mix instructions, usually around 30-35 minutes, or until a toothpick inserted into the center comes out clean.
- Cool the Cake: Allow the cake to cool completely in the pan before crumbling it. This usually takes about an hour.
Preparing the Cake Pop Mixture:
Now that your cake is baked and cooled, it’s time to create the cake pop mixture. This involves crumbling the cake and mixing it with frosting to create a moldable consistency.
- Crumble the Cake: Once the cake is completely cool, use your hands to crumble it into a large bowl. Ensure there are no large chunks remaining.
- Add Frosting: Add the frosting to the crumbled cake. Start with 1/2 cup and mix well with your hands. The mixture should be moist enough to hold its shape when pressed together, but not too sticky. If needed, add a little more frosting, one tablespoon at a time, until you reach the desired consistency.
- Form Cake Balls: Roll the cake mixture into small, uniform balls, about 1-inch in diameter. Place the formed cake balls on a baking sheet lined with parchment paper.
- Chill the Cake Balls: Place the baking sheet with the cake balls in the refrigerator for at least 30 minutes. This will help them firm up and make them easier to handle when dipping.
Dipping and Decorating:
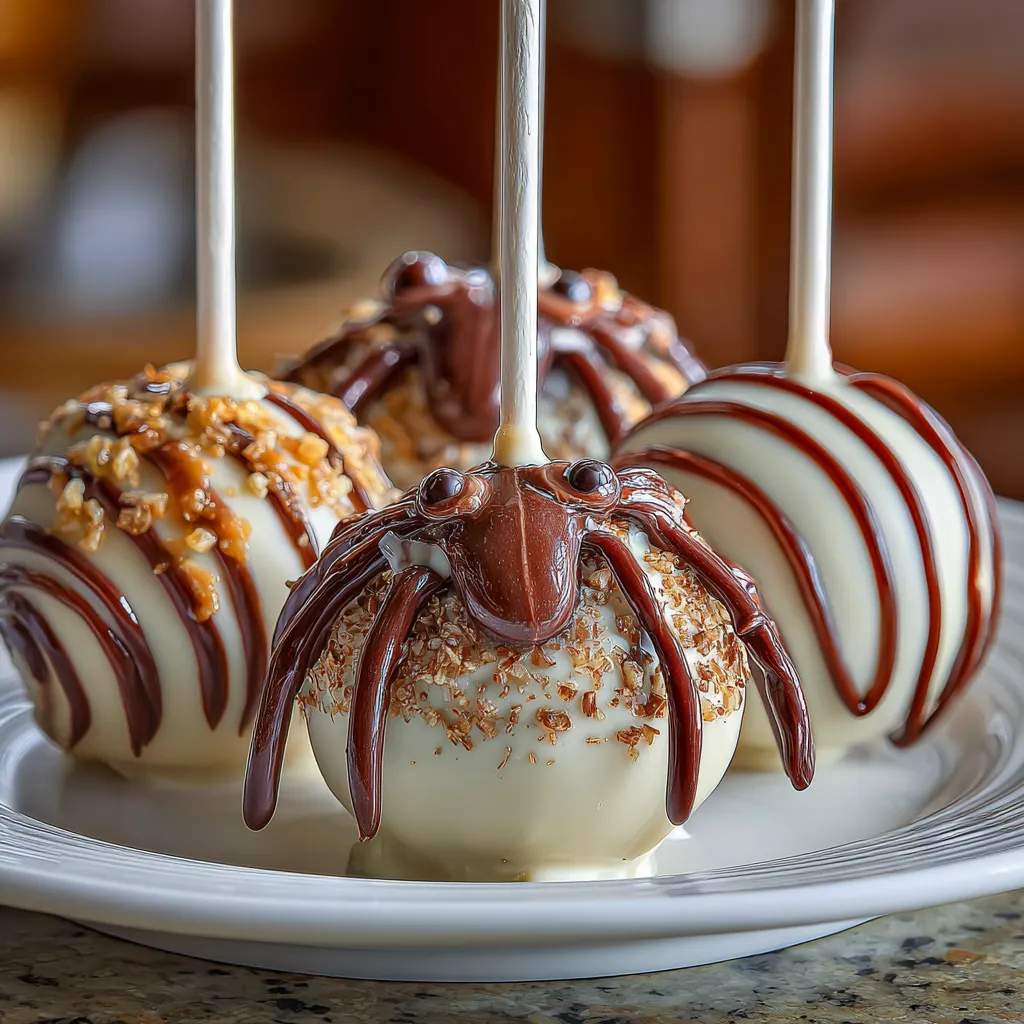
This is where the fun begins! Dipping the cake balls in chocolate and decorating them to look like creepy crawlies is the highlight of this recipe.
- Melt the Chocolate: In a microwave-safe bowl, melt the chocolate candy coating according to the package instructions. If the chocolate is too thick, add a small amount of vegetable shortening to thin it out. Stir until smooth.
- Dip the Cake Pops: Remove the cake balls from the refrigerator. Dip the tip of a cake pop stick into the melted chocolate and insert it halfway into a cake ball. This helps the cake ball adhere to the stick. Dip the entire cake ball into the melted chocolate, ensuring it is fully coated. Gently tap off any excess chocolate.
- Decorate Immediately: While the chocolate is still wet, decorate the cake pops with candy eyes, licorice strings, sprinkles, and other candies to create your desired creepy crawly designs. For example, use licorice strings as spider legs and attach candy eyes to the front of the cake pop.
- Let the Chocolate Set: Place the decorated cake pops in a cake pop stand or stick them into a piece of Styrofoam to allow the chocolate to set completely. This usually takes about 30 minutes to an hour.
Tips for Creepy Crawly Designs:
Get creative with your creepy crawly designs! Here are some ideas to inspire you:
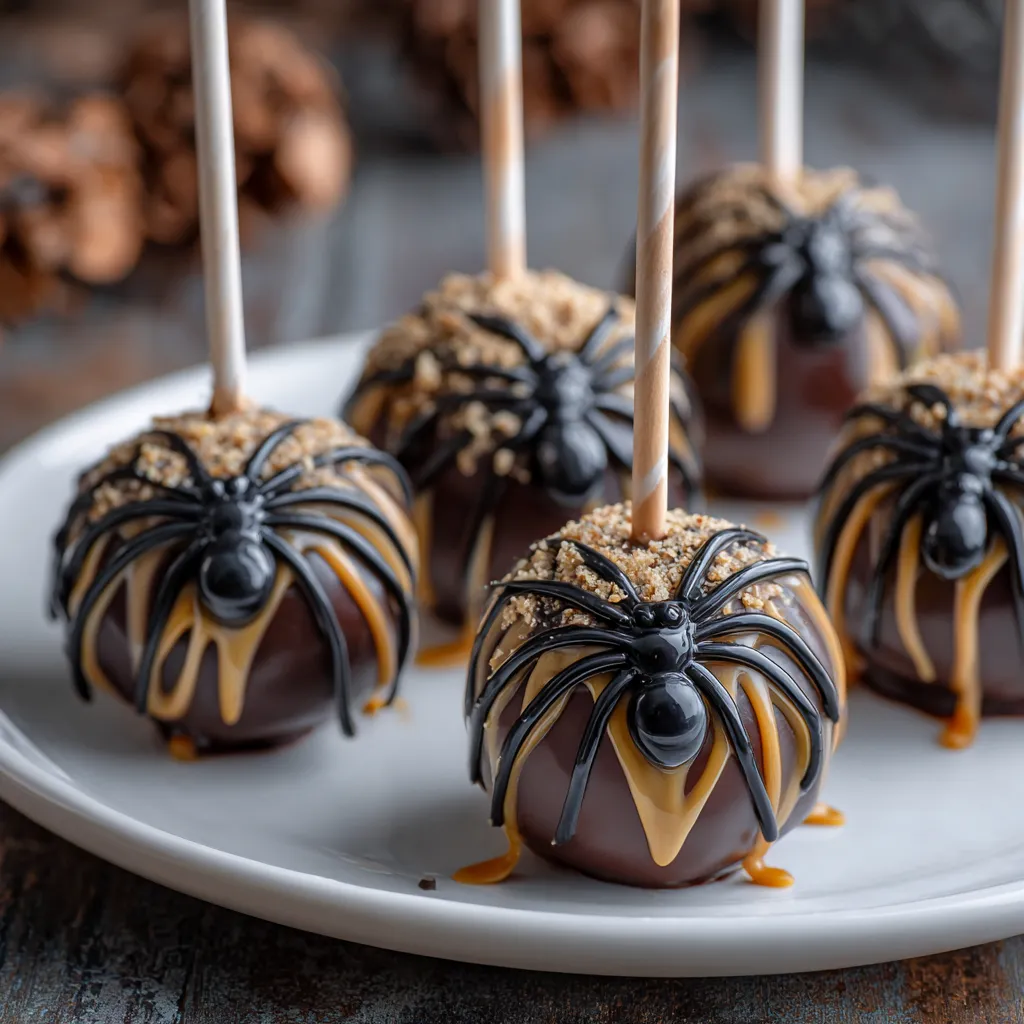
- Spiders: Use black candy coating and attach licorice strings for legs. Add candy eyes for a spooky spider look.
- Worms: Use green or brown candy coating. Attach gummy worms or create worm-like shapes with colored candy melts.
- Eyeballs: Use white candy coating and attach large candy eyes. Drizzle with red candy melts to create a bloodshot effect.
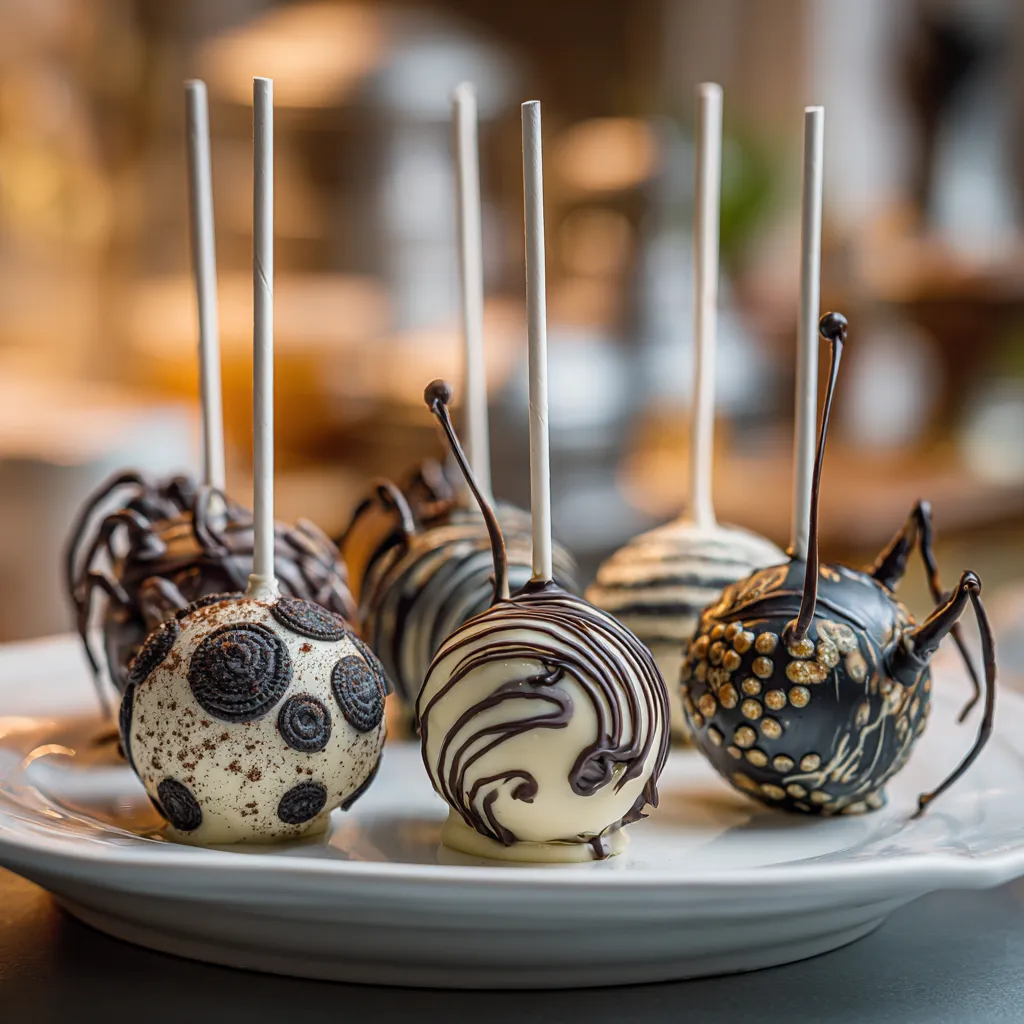
- Mummies: Use white candy coating and drizzle with white candy melts to create a wrapped mummy effect. Attach small candy eyes.
Alternative Decoration Ideas:
Don’t be afraid to experiment with different decorations to create unique and spooky cake pops.
- Use edible markers to draw designs on the candy coating.
- Create spiderwebs with melted white chocolate.
- Add edible glitter for a sparkly, spooky effect.
- Use crushed Oreo cookies to create a dirt-like texture.
Recipe Card:
Here’s a handy recipe card for your convenience.
- Prep Time: 45 minutes
- Cook Time: 35 minutes
- Total Time: 2 hours (including chilling and setting time)
- Category: Dessert
- Method: Baking, Dipping
- Cuisine: American
Nutrition Card:
Here’s an estimated nutrition breakdown for one cake pop.
- Calories: 200
- Sugar: 25g
- Fat: 10g
- Carbohydrates: 30g
- Fiber: 1g
- Protein: 2g
- Yields: Approximately 24 cake pops
Storage Tips:
Proper storage will keep your creepy crawly cake pops fresh and delicious for longer.
- Room Temperature: Store cake pops in an airtight container at room temperature for up to 3-4 days.
- Refrigeration: For longer storage, you can refrigerate the cake pops for up to a week. Just be aware that the chocolate may sweat slightly when brought back to room temperature.
- Freezing: Cake pops can also be frozen for up to a month. Wrap each cake pop individually in plastic wrap and then place them in an airtight container. Thaw in the refrigerator before serving.
FAQs
Can I use a different type of cake for these cake pops?
Yes, you can use any cake flavor you like! Chocolate, vanilla, red velvet, and even funfetti cake all work well. Just make sure the cake is moist and flavorful.
What if my chocolate is too thick to dip the cake pops?
If your chocolate is too thick, you can add a small amount of vegetable shortening or coconut oil to thin it out. Microwave in 15-second intervals, stirring in between, until the chocolate reaches a smooth, dippable consistency.
How do I prevent the cake balls from falling off the sticks?
To prevent the cake balls from falling off the sticks, make sure to dip the tip of the stick into the melted chocolate before inserting it into the cake ball. This acts as a “glue” to hold the cake ball in place. Also, ensure that the cake balls are well-chilled before dipping.
Can I make these cake pops ahead of time?
Yes, you can make these cake pops ahead of time. They can be stored in an airtight container at room temperature for a few days or in the refrigerator for up to a week. You can also freeze them for longer storage.
What can I use instead of candy melts for decorating?
If you don’t have candy melts, you can use melted chocolate, frosting, or even edible markers to decorate your cake pops. Get creative and use whatever you have on hand!
{{image}}
I’m so glad you’re here. If you enjoyed this recipe or found it helpful, feel free to share it with your friends and family – great food is meant to be shared!
Don’t forget to follow me on Facebook and Pinterest for more delicious recipes, kitchen tips, and daily cooking inspiration. Your support means the world to me, and I look forward to bringing you even more tasty ideas straight from my kitchen.
Print
Creepy Cake Pops EASILY Create Crawly Treats
Easy creepy cake pops Learn to quickly craft crawly treats Simple tech ideas for memorable themed desserts Get inspo now 140 chars
- Total Time: 2 hours 0 minutes
- Yield: 24 1x
Ingredients
Instructions
- Prep Time: 0 hours 45 minutes
- Cook Time: 0 hours 35 minutes
- Category: Dessert
- Cuisine: American
Nutrition
- Calories: 200 calories
- Sugar: 25g
- Fat: 10g
- Carbohydrates: 30g
- Fiber: 1g
- Protein: 2g
