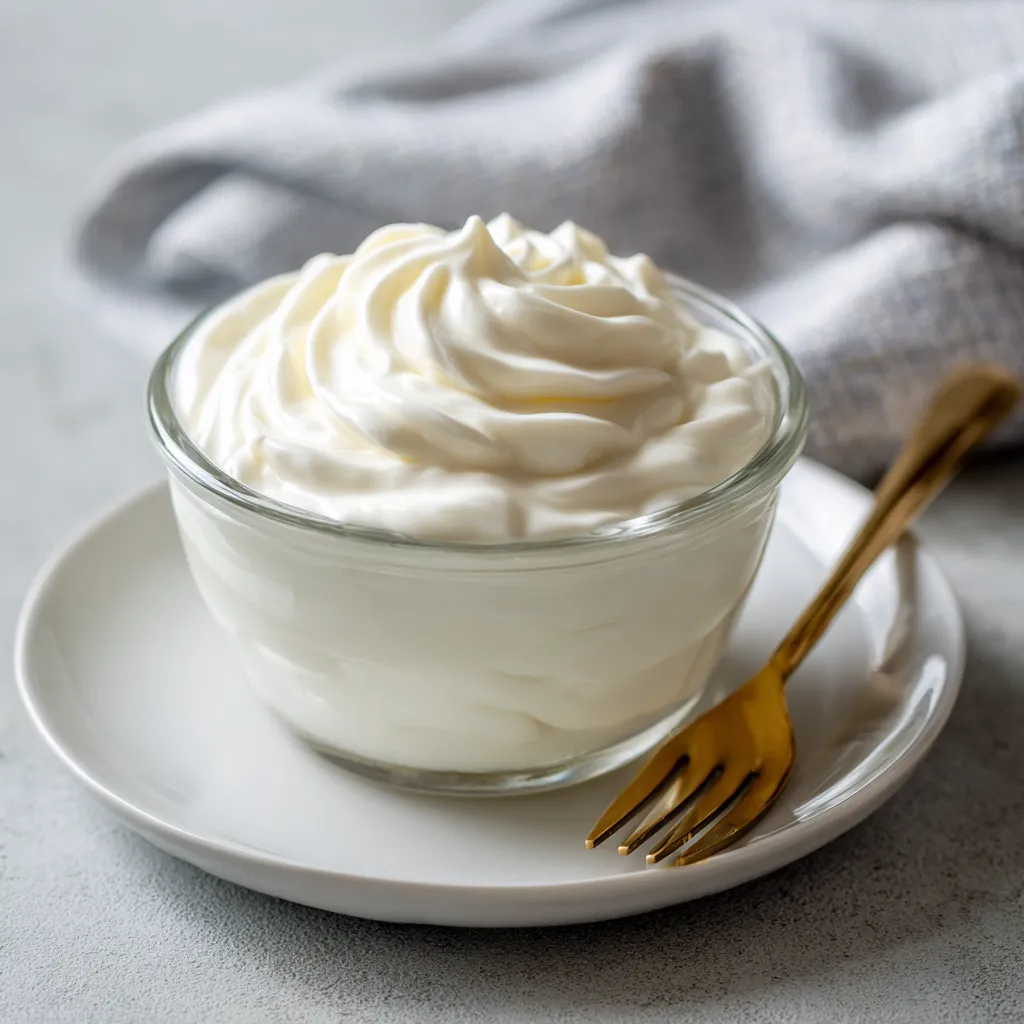
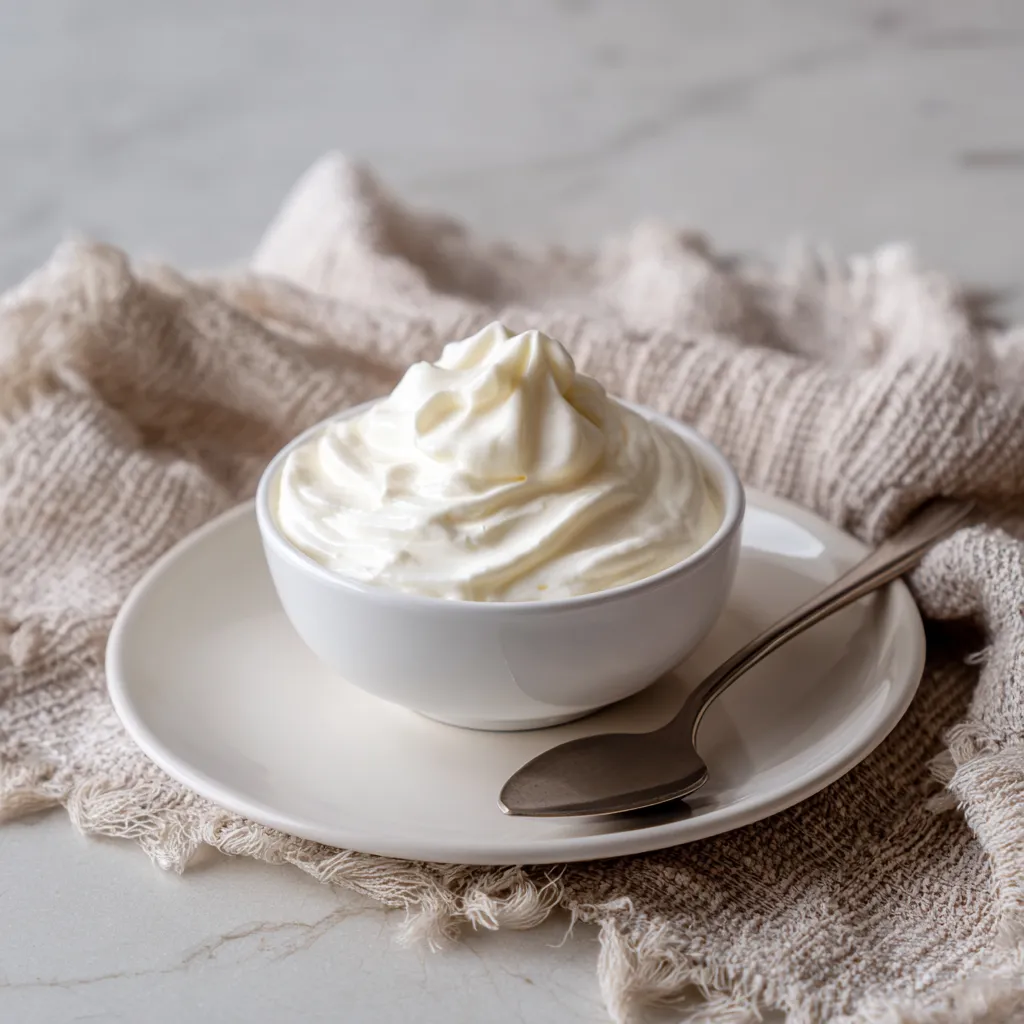
Creamy Probiotic Yogurt Recipe for Gut Health
Welcome to my kitchen! I’m Nyla—a chef with a true love for creating recipes that not only taste amazing but also bring people together. This website is where I share my favorite dishes, cooking tips, and step-by-step guides to help you enjoy the process as much as the result. Whether you’re a beginner or a seasoned home cook, you’ll find inspiration here to make every meal special! Today, I’m excited to share a recipe that’s as good for your gut as it is delicious: a creamy probiotic yogurt. Forget the store-bought stuff packed with sugar and additives. This recipe gives you control over the ingredients, allowing you to create a probiotic yogurt bursting with flavor and beneficial bacteria. It’s a fantastic way to support your digestive health while enjoying a tasty treat.A Brief Overview of This Recipe
This recipe focuses on creating a thick, tangy, and delicious probiotic yogurt right in your own kitchen. We’ll be using simple ingredients, a bit of patience, and a few easy steps to transform milk into a gut-friendly powerhouse. The best part? You can customize it with your favorite flavors, fruits, and toppings to make it uniquely yours. Think of it as a blank canvas for your culinary creativity! This yogurt is not just a treat; it’s a proactive step towards a healthier you.
Ingredients You Will Need
To make this luscious probiotic yogurt, you’ll need:
- 4 cups of whole milk (organic is preferable)
- 2 tablespoons of plain yogurt with live and active cultures (as a starter)
- Optional: 1-2 tablespoons of powdered milk (for extra thickness)
A note on milk: Whole milk will give you the creamiest result, but you can use 2% or skim milk if you prefer. Just be aware that the final product will be slightly thinner. As for the starter yogurt, make sure it contains live and active cultures – this is crucial for the fermentation process. Look for labels that specifically mention strains like Lactobacillus and Bifidobacterium.
Step-by-Step Instructions
Ready to get started? Here’s how to make your own creamy probiotic yogurt:
Step 1: Heat the Milk
Pour the milk into a heavy-bottomed pot. Heat the milk over medium heat, stirring occasionally to prevent scorching. You want to bring the milk to 180°F (82°C). This step is important because it denatures the milk proteins, which helps create a thicker yogurt.
Step 2: Cool the Milk
Remove the pot from the heat and let the milk cool down to 110°F (43°C). You can use a thermometer to ensure accuracy. Cooling the milk is crucial because the live cultures in your starter yogurt will be killed if the milk is too hot.

Step 3: Add the Starter
In a small bowl, whisk together the starter yogurt and a little of the cooled milk until smooth. This helps to temper the starter and prevent clumping. Gently pour the mixture back into the pot of milk and stir well to combine.
Step 4: Incubate the Yogurt
This is where the magic happens! Pour the milk mixture into a clean glass jar or container. Now, you need to keep the yogurt warm for 6-12 hours to allow the bacteria to ferment. There are several ways to do this:
- Oven Method: Preheat your oven to the lowest setting (usually around 170°F or 77°C), then turn it off. Place the jar of yogurt in the oven with the door slightly ajar.
- Yogurt Maker: If you have a yogurt maker, follow the manufacturer’s instructions.
- Instant Pot Method: Some Instant Pots have a yogurt setting. Follow the instructions in your Instant Pot manual.
- Cooler Method: Place the jar of yogurt in a cooler with warm water (around 110°F). Replace the water as needed to maintain the temperature.
Check the yogurt after 6 hours. It should be thick and tangy. If it’s not quite there, let it incubate for another few hours.
Step 5: Chill and Enjoy
Once the yogurt has reached your desired consistency, transfer it to the refrigerator and chill for at least 2 hours. This will stop the fermentation process and allow the yogurt to thicken further.

Tips for Success
Making yogurt at home is a breeze, but here are a few tips to ensure success:
- Use a reliable thermometer: Accurate temperature control is essential for the fermentation process.
- Keep everything clean: Use sterilized jars and utensils to prevent contamination.
- Don’t disturb the yogurt: Avoid moving the yogurt during incubation, as this can disrupt the fermentation process.
- Experiment with flavors: Once the yogurt is chilled, add your favorite fruits, granola, honey, or nuts.
Prep Time, Total Time, Kcal, Yield
- Prep Time: 15 minutes
- Total Time: 8-14 hours (including incubation)
- Kcal: Approximately 150 kcal per cup (depending on the milk used)
- Yield: 4 cups

Why Homemade Probiotic Yogurt is Better
Okay, let’s get real. Why go through the effort of making your own probiotic yogurt when you can just grab a container at the store? Well, there are a few key reasons:
- Control Over Ingredients: You know exactly what’s going into your yogurt. No added sugars, artificial flavors, or questionable preservatives.
- Higher Probiotic Count: Homemade yogurt often has a higher concentration of beneficial bacteria than store-bought versions, which can be heat-treated after fermentation, reducing the probiotic content.
- Cost-Effective: Making your own yogurt is significantly cheaper than buying it regularly.
- Customizable: You can tailor the flavor and thickness to your liking. Want a super tangy yogurt? Let it incubate longer. Prefer a sweeter version? Add honey or maple syrup.
- Satisfaction: There’s something incredibly rewarding about making your own food from scratch. It’s a connection to the process that you just don’t get from buying pre-made products.
Troubleshooting
Sometimes things don’t go exactly as planned. Here are some common issues and how to fix them:
- Thin Yogurt: This could be due to using low-fat milk, not heating the milk to a high enough temperature, or not incubating for long enough. Try using whole milk, ensuring the milk reaches 180°F, and extending the incubation time.
- Sour Yogurt: This usually means the yogurt was incubated for too long. Reduce the incubation time in your next batch.
- Grainy Texture: This can happen if the milk cools down too quickly after heating. Try to maintain a consistent temperature during the cooling process.
- No Fermentation: This could be due to using a starter yogurt that doesn’t contain live cultures, or if the incubation temperature is too high or too low. Make sure your starter yogurt is fresh and contains live cultures, and monitor the temperature carefully.
Can I use non-dairy milk to make this yogurt?
Yes, you can! Almond, soy, and coconut milk can be used to make non-dairy yogurt. However, the texture and flavor will be different. You may also need to add a thickening agent like tapioca starch to achieve a similar consistency to dairy yogurt.
What if I don’t have a yogurt maker?
No problem! As mentioned in the instructions, you can use your oven, Instant Pot, or even a cooler to incubate the yogurt. The key is to maintain a consistent temperature around 110°F (43°C).
How long does homemade yogurt last?
Homemade yogurt typically lasts for 1-2 weeks in the refrigerator. Be sure to store it in an airtight container to maintain its freshness and prevent contamination.
Can I use frozen yogurt as a starter?
Unfortunately, no. Frozen yogurt does not contain live and active cultures, which are essential for the fermentation process. You need to use fresh, plain yogurt with live cultures as a starter.
Can I add fruit to the yogurt before incubating?
It’s best to add fruit after the yogurt has been incubated and chilled. Adding fruit before can interfere with the fermentation process and may result in a less consistent texture.

Creamy Probiotic Yogurt Recipe Super Gut Health Booster
Boost gut health with this creamy probiotic yogurt recipe Simple steps for super gut health packed with beneficial bacteria Homemade goodness
- Total Time: 8 hours 15 minutes
- Yield: 4 cups 1x
Ingredients
Instructions
- Prep Time: 15 minutes
- Cook Time: 0 minutes
- Category: Breakfast
- Cuisine: American
Nutrition
- Calories: 150 kcal
- Sugar: 11 grams
- Fat: 8 grams
- Carbohydrates: 11 grams
- Fiber: 0 grams
- Protein: 8 grams
