Welcome to my kitchen! I’m Nyla—a chef with a true love for creating recipes that not only taste amazing but also bring people together. This website is where I share my favorite dishes, cooking tips, and step-by-step guides to help you enjoy the process as much as the result. Whether you’re a beginner or a seasoned home cook, you’ll find inspiration here to make every meal special! I’m thrilled to share my secret to the best homemade yogurt recipe for better digestion. Say goodbye to store-bought versions loaded with additives and hello to creamy, gut-friendly goodness made right in your own kitchen!
This recipe isn’t just about making yogurt; it’s about creating a foundation for better health. It’s packed with probiotics that can really aid your digestive system. The process is simple, satisfying, and yields a yogurt that’s far superior in taste and health benefits to anything you can buy at the store. Ready to transform your gut health and enjoy a delicious, homemade treat? Let’s get started!
Why Make Your Own Yogurt?
Why bother making your own yogurt when you can just grab a container from the grocery store? Well, let me tell you, the benefits are numerous! First and foremost, you control the ingredients. No artificial sweeteners, preservatives, or questionable additives. You get pure, wholesome goodness.

Secondly, homemade yogurt is bursting with probiotics – those friendly bacteria that work wonders for your digestive system. These probiotics help balance your gut flora, which can improve digestion, boost your immune system, and even lift your mood. Think of your gut as a garden; probiotics are the gardeners tending to it, keeping everything in balance.
Finally, let’s talk about taste. Homemade yogurt is unbelievably creamy and flavorful. You can customize it to your liking – add honey, fruit, or granola for a delicious and healthy snack or breakfast. Once you taste homemade, you’ll never go back to the store-bought stuff!
Ingredients You Will Need
For this best homemade yogurt recipe, you only need a few simple ingredients:
- Milk: 1 gallon (whole milk, 2% milk, or even non-dairy milk like almond or soy milk – but results may vary slightly)
- Yogurt Starter: 2 tablespoons of plain yogurt with live and active cultures (or a yogurt starter culture packet)
That’s it! Seriously. It’s amazing how something so simple can create something so delicious and beneficial.
Equipment You’ll Need
Here’s a quick rundown of the equipment you’ll need to make your own yogurt:
- Large Pot: For heating the milk.
- Thermometer: A reliable thermometer is crucial for monitoring the milk’s temperature.
- Yogurt Maker or Incubator: You can use a yogurt maker, an Instant Pot with a yogurt setting, or even your oven.
- Jars or Containers: For storing the finished yogurt.
- Whisk: For stirring the milk and yogurt starter.

Step-by-Step Instructions
Alright, let’s dive into the step-by-step process of making your very own batch of delicious, gut-friendly homemade yogurt. Trust me, it’s easier than you think!
Step 1: Heat the Milk
Pour the milk into a large pot and heat it over medium heat. Stir occasionally to prevent scorching. You want to bring the milk to 180-185°F (82-85°C). This step is crucial because it denatures the milk proteins, resulting in a thicker, creamier yogurt. Think of it as prepping the canvas for a masterpiece!
Step 2: Cool the Milk
Remove the pot from the heat and let the milk cool down to 110-115°F (43-46°C). This is where your thermometer comes in handy. Cooling the milk is essential because the high temperature will kill the live cultures in your yogurt starter. Patience is key here!
Step 3: Add the Yogurt Starter
Once the milk has cooled, take about a cup of the warm milk and mix it with the yogurt starter in a small bowl. This helps to temper the starter and prevent it from shocking when added to the rest of the milk. Gently pour the mixture back into the pot with the rest of the milk and whisk until well combined.
Step 4: Incubate the Yogurt
Now comes the incubation phase, where the magic happens! This is where the live cultures in the yogurt starter get to work, transforming the milk into yogurt. There are several ways to incubate your yogurt:
- Yogurt Maker: Follow the manufacturer’s instructions. Typically, this involves pouring the milk mixture into the yogurt maker and setting it for 6-8 hours.
- Instant Pot: Use the “Yogurt” setting and follow the manufacturer’s instructions.
- Oven: Preheat your oven to the lowest setting (usually around 170°F or 77°C). Turn off the oven and place the pot of milk mixture inside. Leave the oven door slightly ajar. The residual heat will incubate the yogurt. Check after 6-8 hours.
Step 5: Chill and Enjoy
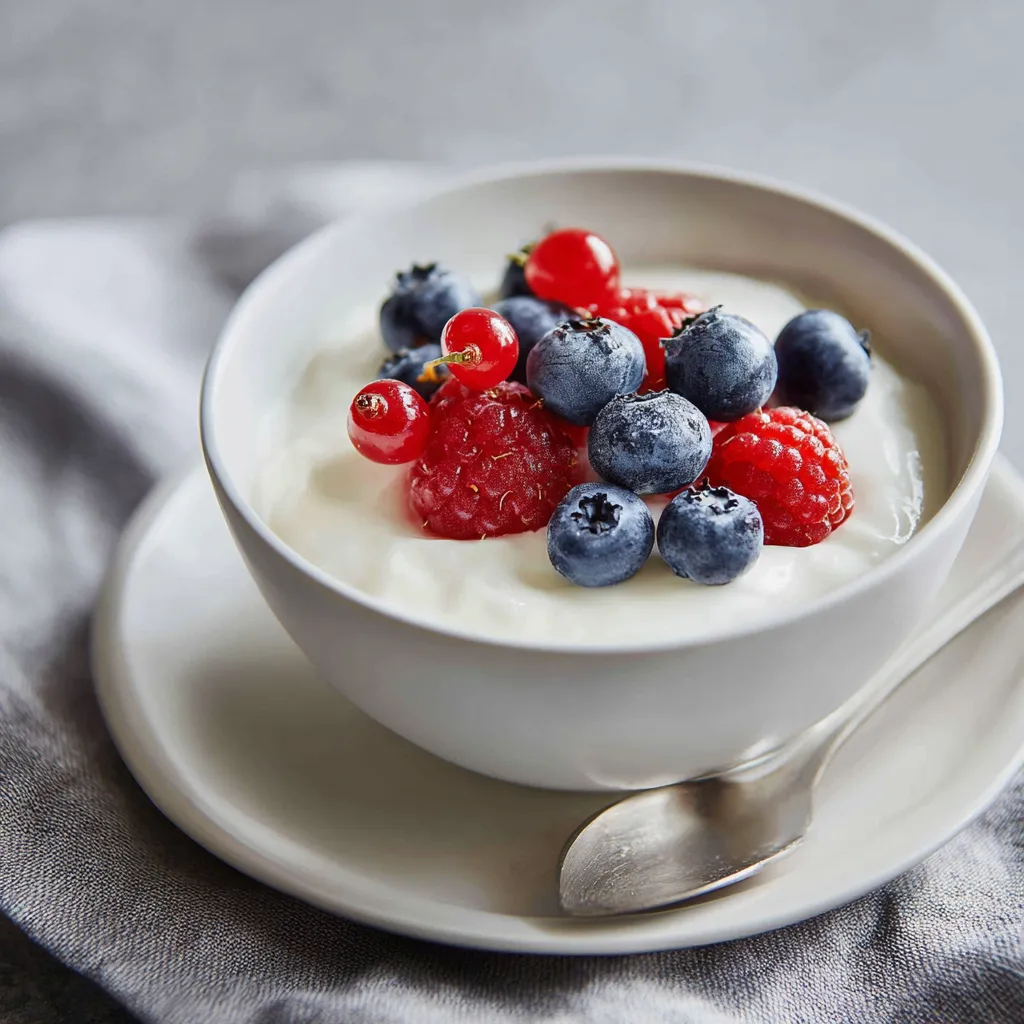
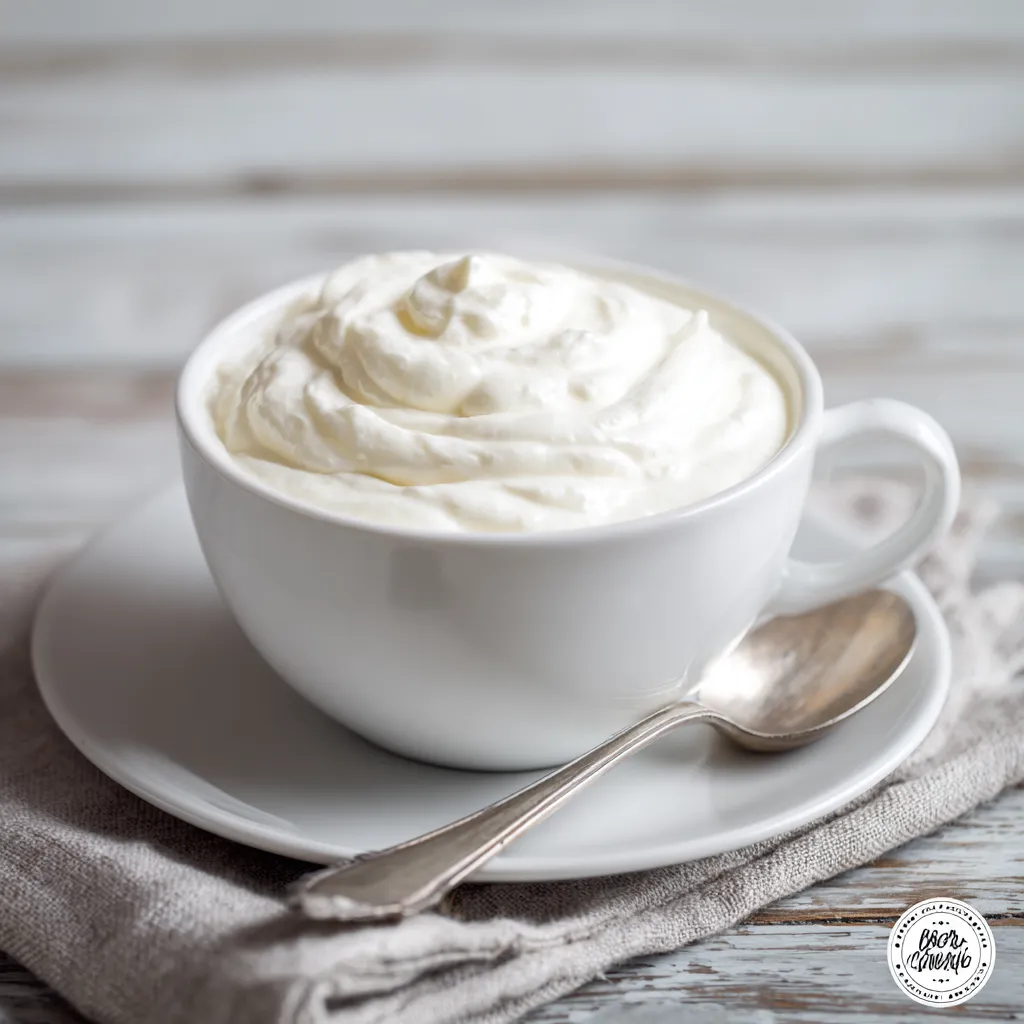
After incubation, the yogurt should be thick and slightly tangy. Transfer it to jars or containers and refrigerate for at least 2 hours to stop the culturing process and further thicken the yogurt. Once chilled, it’s ready to enjoy! Top with your favorite fruits, granola, honey, or nuts for a healthy and delicious treat.

Tips for Perfect Yogurt Every Time
Here are a few tips to help you achieve yogurt-making perfection:
- Use High-Quality Milk: The better the milk, the better the yogurt. Whole milk will give you the creamiest results.
- Don’t Overheat the Milk: Overheating can scorch the milk and affect the taste and texture of the yogurt.
- Maintain a Consistent Temperature: Consistent temperature during incubation is crucial for the live cultures to thrive.
- Be Patient: Yogurt-making takes time. Don’t rush the process.
- Experiment with Flavors: Once you’ve mastered the basic recipe, try adding different flavors like vanilla extract, fruit purees, or spices.
Troubleshooting Common Yogurt Problems
Sometimes, things don’t go as planned. Here’s how to troubleshoot some common yogurt-making issues:
- Thin Yogurt: If your yogurt is too thin, it could be due to insufficient heating of the milk, incorrect incubation temperature, or a weak yogurt starter. Try using a different brand of yogurt starter or incubating for a longer period.
- Grainy Yogurt: Grainy yogurt can be caused by overheating the milk or using too much yogurt starter. Be careful not to exceed the recommended temperature and amount of starter.
- Sour Yogurt: Over-incubation can result in sour yogurt. Reduce the incubation time next time.

Serving Suggestions
Now that you’ve made your amazing homemade yogurt, let’s talk about how to enjoy it! This versatile treat can be enjoyed in so many ways.
- Breakfast: Top your yogurt with fresh fruit, granola, and a drizzle of honey for a healthy and satisfying breakfast.
- Snack: Enjoy a bowl of yogurt plain or with a sprinkle of nuts and seeds for a quick and nutritious snack.
- Smoothies: Add yogurt to your favorite smoothie recipe for extra creaminess and a boost of probiotics.
- Dips and Sauces: Use yogurt as a base for creamy dips and sauces. Mix it with herbs, spices, and lemon juice for a delicious and healthy alternative to mayonnaise or sour cream.
- Baking: Substitute yogurt for sour cream or buttermilk in your favorite baking recipes for added moisture and tang.
Prep Time: 15 minutes | Total Time: 8-10 hours | Kcal: 150 (per cup) | Yield: Approximately 1 gallon
Thank you for being here! I’m so glad you’re here. If you enjoyed this recipe or found it helpful, feel free to share it with your friends and family—great food is meant to be shared!
Don’t forget to follow me on Facebook and Instagram for more delicious recipes, kitchen tips, and daily cooking inspiration. Your support means the world to me, and I look forward to bringing you even more tasty ideas straight from my kitchen.
Can I use non-dairy milk to make yogurt?
Yes, you can use non-dairy milk like almond, soy, or coconut milk. However, the texture and taste may vary. Some non-dairy milks may require the addition of a thickener like tapioca starch to achieve a yogurt-like consistency.
What if I don’t have a yogurt maker?
No problem! You can use an Instant Pot with a yogurt setting, your oven (as described in the instructions), or even a cooler with warm water to maintain a consistent temperature.
How long does homemade yogurt last in the fridge?
Homemade yogurt typically lasts for 1-2 weeks in the refrigerator, provided it is stored properly in an airtight container.
Can I use frozen fruit in my yogurt?
Absolutely! Frozen fruit is a great addition to yogurt. Just be aware that it may make the yogurt slightly thinner as it thaws. You can also use frozen fruit to make a quick and easy yogurt parfait.
Why is my yogurt runny?
Runny yogurt can be caused by several factors, including using too little yogurt starter, incubating at too low a temperature, or using milk that hasn’t been properly heated. Make sure to follow the recipe instructions carefully and adjust the incubation time or temperature as needed.
`

Best Homemade Yogurt Recipe Gut Health Easy
Best homemade yogurt recipe for gut health Easy tech improves digestion Make creamy probioticrich yogurt at home Simple steps big benefits
- Total Time: 8 hours 15 minutes
- Yield: Approximately 1 gallon 1x
Ingredients
- 1 gallon milk (whole, 2%, almond, or soy)
- 2 tablespoons plain yogurt with live and active cultures
Instructions
- Pour the milk into a large pot and heat it over medium heat. Stir occasionally to prevent scorching. You want to bring the milk to 180-185°F (82-85°C).
- Remove the pot from the heat and let the milk cool down to 110-115°F (43-46°C).
- Once the milk has cooled, take about a cup of the warm milk and mix it with the yogurt starter in a small bowl. Gently pour the mixture back into the pot with the rest of the milk and whisk until well combined.
- Incubate the yogurt using a yogurt maker, Instant Pot, or oven for 6-8 hours.
- Transfer the yogurt to jars or containers and refrigerate for at least 2 hours to stop the culturing process and further thicken the yogurt.
- Prep Time: 15 minutes
- Cook Time: 0 minutes
- Category: Breakfast, Snack
- Cuisine: American
Nutrition
- Calories: 150 kcal
- Sugar: 11 g
- Fat: 8 g
- Carbohydrates: 11 g
- Fiber: 0 g
- Protein: 8 g
