Homemade Apple Cider: A Fall Favorite
This article focuses on creating delicious, homemade apple cider. We’ll guide you through a simple recipe using fresh apples and spices, perfect for enjoying on a crisp autumn day. From selecting the best apples to simmering the cider to perfection, we’ll cover every step. Learn how to customize your cider with different spices and variations. We’ll also address frequently asked questions about apple cider, including storage tips, nutritional information, and serving suggestions. Get ready to fill your home with the warm, inviting aroma of homemade apple cider!
Ingredients: The Key to Cider Success
The quality of your apple cider depends heavily on the ingredients you choose. Here’s a breakdown:
- Apples: A mix of apple varieties is crucial for a complex flavor. Consider using a combination of sweet (like Fuji or Gala), tart (like Granny Smith), and aromatic (like McIntosh or Honeycrisp) apples. Aim for about 8-10 medium apples.
- Water: Use filtered water for the purest taste. You’ll need enough to cover the apples in your pot, typically around 8-12 cups.
- Spices: This is where you can get creative! A classic blend includes:
- 2-3 cinnamon sticks
- 1 teaspoon whole cloves
- 1/2 teaspoon allspice berries
- Optional: Star anise, nutmeg, orange peel
- Sweetener (Optional): Depending on the sweetness of your apples, you might want to add a touch of sweetener. Brown sugar, maple syrup, or honey work well. Start with 1-2 tablespoons and adjust to taste.

Step-by-Step Instructions: Brewing Your Own Cider
Follow these simple steps to create your own delicious apple cider:
- Prepare the Apples: Wash and quarter the apples. There’s no need to peel or core them; the peels add color and flavor.
- Combine Ingredients: Place the apples in a large pot (at least 6-8 quart capacity). Add the water and spices. Make sure the apples are mostly covered with water.
- Simmer: Bring the mixture to a boil, then reduce heat to low, cover, and simmer for at least 2-3 hours, or even longer for a richer flavor. The longer it simmers, the more the apples will break down and release their flavors.
- Mash the Apples: After simmering, use a potato masher or the back of a spoon to mash the apples, releasing even more flavor.
- Strain the Cider: Place a colander lined with cheesecloth or a fine-mesh sieve over a large bowl. Carefully pour the apple mixture into the lined colander. Let the cider strain naturally; avoid pressing on the solids, as this can make the cider cloudy. You can strain it a second time for an even clearer cider.
- Sweeten (Optional): Taste the cider and add sweetener, if desired. Stir until dissolved.
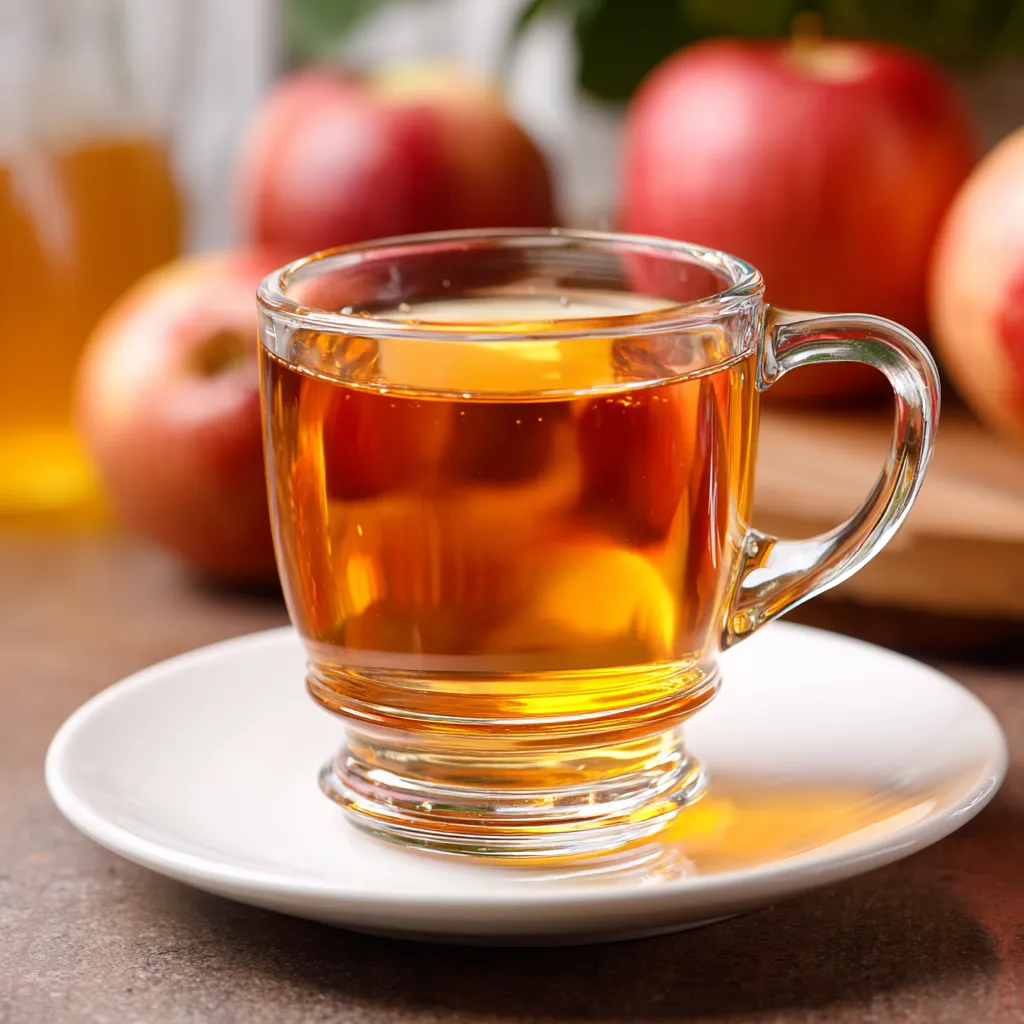
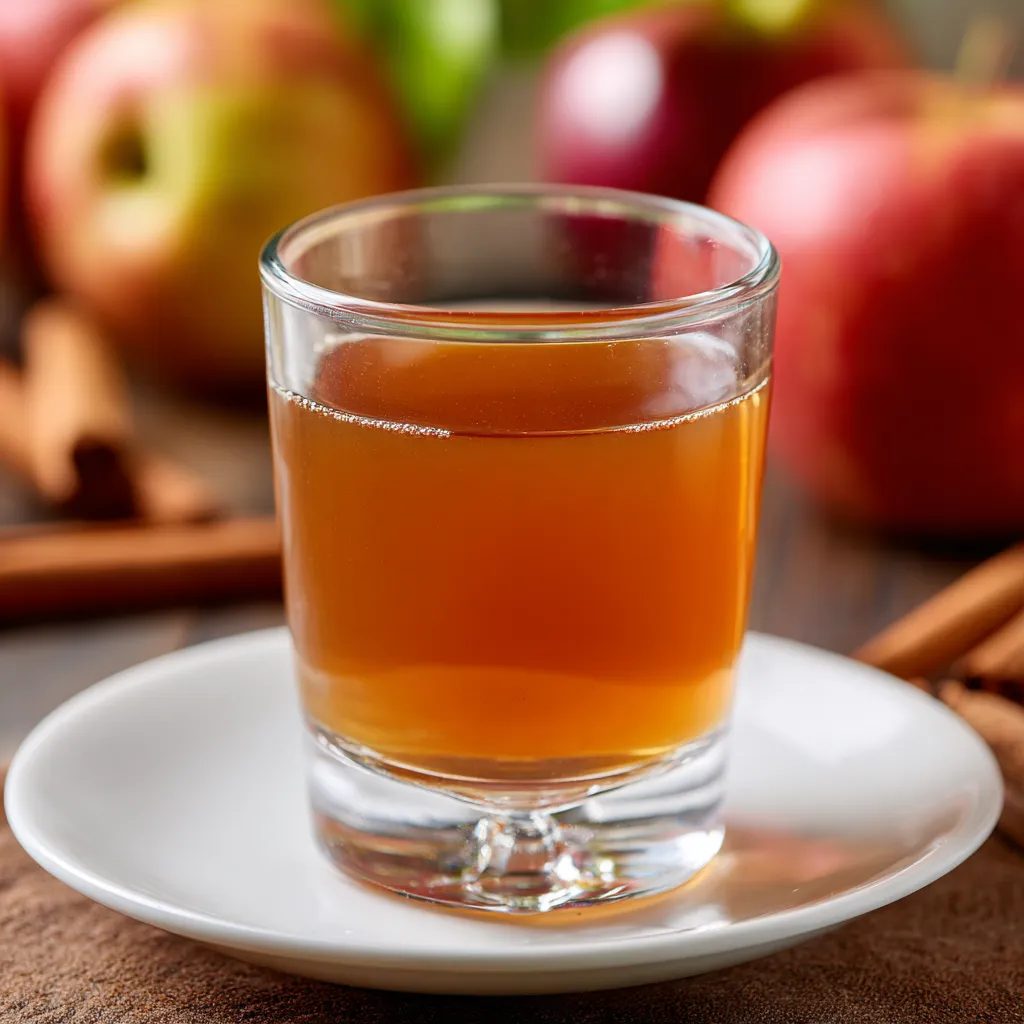
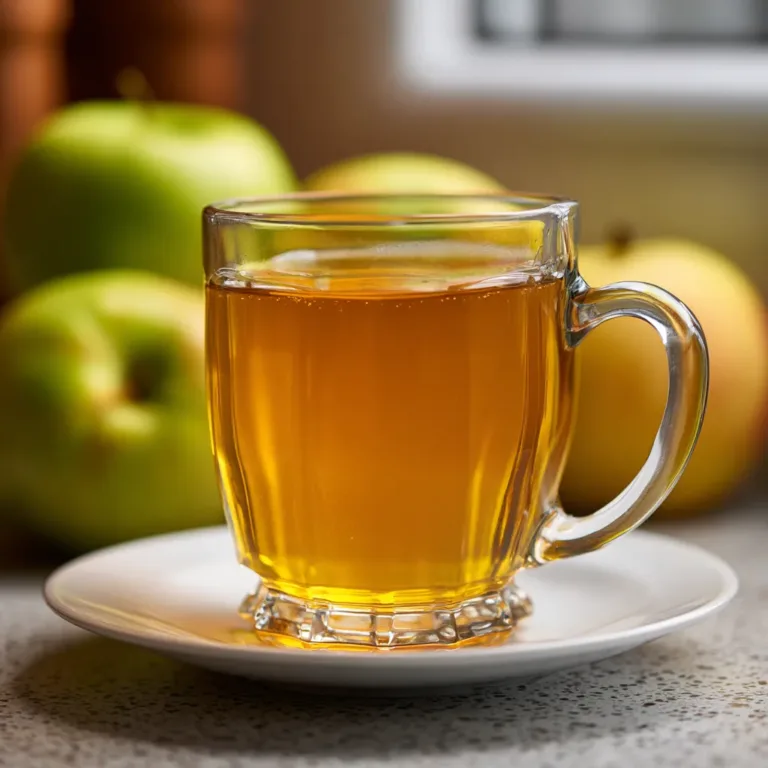
- Serve: Serve warm in mugs. Garnish with a cinnamon stick or orange slice, if desired.
- Storage: Store leftover cider in an airtight container in the refrigerator for up to 5-7 days.
Variations and Tips for Apple Cider
Want to put your own spin on this classic recipe? Here are some ideas:
- Spice it Up: Experiment with different spices like cardamom, ginger, or even a pinch of chili powder for a unique flavor.
- Add Fruit: Incorporate other fruits like pears, cranberries, or oranges for a different flavor profile.
- Slow Cooker Cider: Combine all the ingredients in a slow cooker and cook on low for 6-8 hours. Strain and enjoy.
- Instant Pot Cider: Use the Instant Pot to speed up the process. Cook on high pressure for 15 minutes, followed by a natural pressure release.
- For a Clearer Cider: Avoid squeezing the solids when straining. Letting the cider drip naturally will result in a clearer final product. You can also add a pinch of ascorbic acid (vitamin C) to help prevent browning.
Choosing the Right Apples for Cider
The type of apples you use dramatically impacts the flavor of your cider. Here’s a guide to help you choose:
- Sweet Apples: Fuji, Gala, Honeycrisp – These provide sweetness and a pleasant flavor.
- Tart Apples: Granny Smith, Braeburn – These add a tangy kick and balance the sweetness.
- Aromatic Apples: McIntosh, Cortland – These contribute a complex aroma and depth of flavor.
- Avoid: Mealy apples like Red Delicious are best avoided as they don’t hold up well during simmering.
Tips for Storing Your Homemade Apple Cider
Proper storage ensures your cider stays fresh and flavorful for longer:
- Refrigeration: Store the cider in an airtight container in the refrigerator. It will typically last for 5-7 days.
- Freezing: For longer storage, freeze the cider. Pour it into freezer-safe containers, leaving some space at the top for expansion. Frozen cider can last for several months.
- Reheating: Reheat refrigerated or frozen cider gently on the stovetop or in the microwave. Avoid boiling, as this can affect the flavor.

Recipe Card
Here’s a quick reference for the apple cider recipe:
Prep Time: 15 minutes | Cook Time: 2-3 hours | Total Time: 2 hours 15 minutes – 3 hours 15 minutes | Category: Beverage | Method: Simmering | Cuisine: American
Nutrition Card
Approximate nutritional information per serving (values may vary depending on ingredients):
Calories: 120 | Sugar: 25g | Fat: 0g | Carbohydrates: 30g | Fiber: 2g | Protein: 0g | Yields: 8 servings
FAQs
How long does homemade apple cider last?
Homemade apple cider typically lasts for 5-7 days in the refrigerator when stored in an airtight container. For longer storage, you can freeze it for several months.
Can I use any type of apple for apple cider?
While you can use any type of apple, a mix of sweet, tart, and aromatic apples will give you the best flavor. Avoid mealy apples like Red Delicious, as they don’t hold up well during simmering.
Do I need to peel and core the apples before making apple cider?
No, you don’t need to peel or core the apples. The peels add color and flavor to the cider. Simply wash and quarter the apples before adding them to the pot.
Can I make apple cider in a slow cooker?
Yes, you can make apple cider in a slow cooker. Combine all the ingredients in the slow cooker and cook on low for 6-8 hours. Strain and enjoy.
How can I make my apple cider sweeter?
If your apple cider isn’t sweet enough, you can add a sweetener like brown sugar, maple syrup, or honey. Start with 1-2 tablespoons and adjust to taste. Add the sweetener after straining the cider.
I’m so glad you’re here. If you enjoyed this recipe or found it helpful, feel free to share it with your friends and family great food is meant to be shared!
Don’t forget to follow me on Facebook and Pinterest for more delicious recipes, kitchen tips, and daily cooking inspiration, Your support means the world to me, and I look forward to bringing you even more tasty ideas straight from my kitchen.

Best Apple Cider Recipes Benefits Revealed
Best apple cider benefits recipes revealed Delicious ways to enjoy this fall treat Discover health benefits easy prep techs now
- Total Time: 3 hours 15 minutes
- Yield: 8 servings 1x
Ingredients
Instructions
Notes
Learn how to create delicious, homemade apple cider with this simple recipe using fresh apples and spices. Perfect for enjoying on a crisp autumn day. This recipe includes tips on selecting the best apples, simmering the cider to perfection, customization options, storage, nutritional information, and serving suggestions.
- Prep Time: 15 minutes
- Cook Time: 2 hours
- Category: Beverage
- Cuisine: American
Nutrition
- Serving Size: 8 servings
- Calories: 120 calories
- Sugar: 25 g
- Fat: 0 g
- Carbohydrates: 30 g
- Fiber: 2 g
- Protein: 0 g
